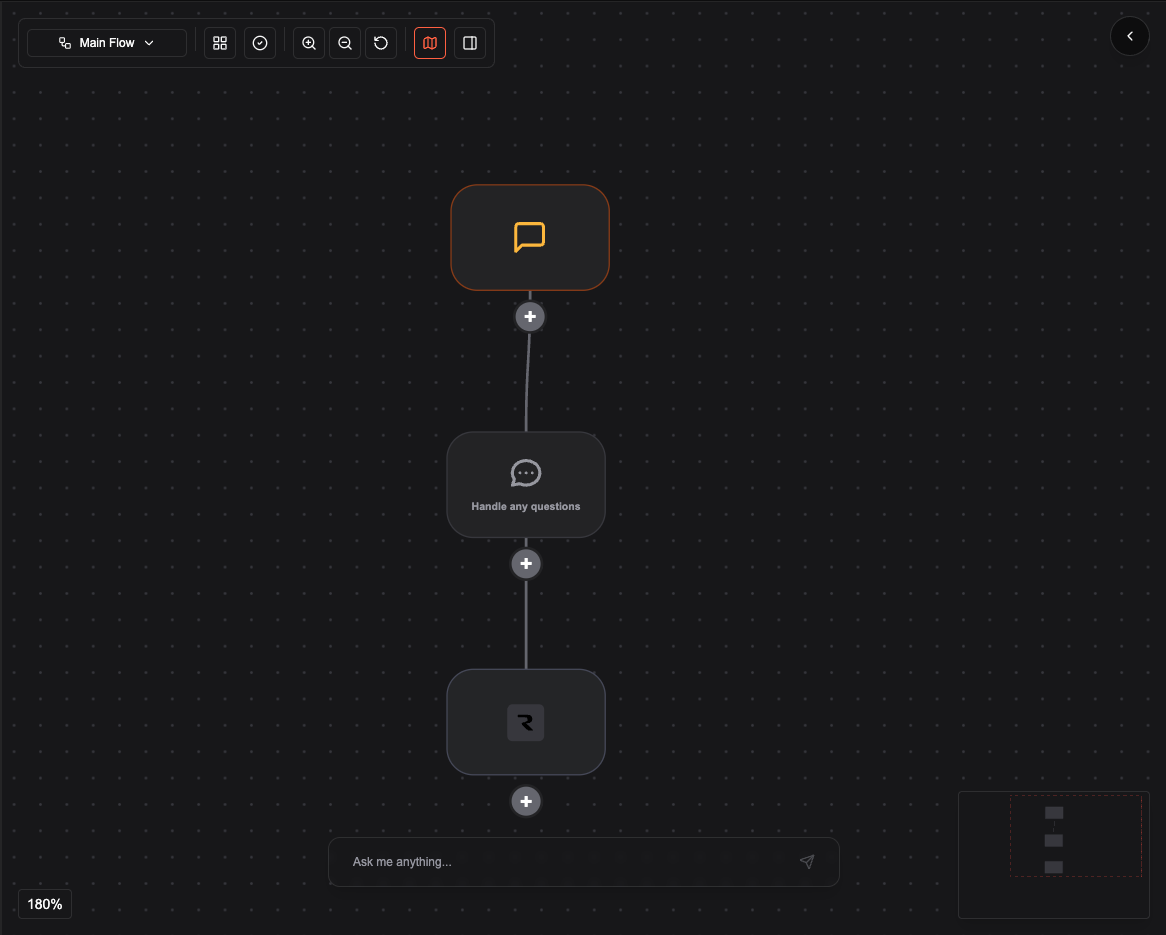
Step 1: Build the graph
Start with a minimal conversation flow and add the integration node.- Add a First message node (e.g. welcome and ask how you can help).
- Connect a Conversation node for the main dialogue.
- Add a Resend email integration node after the conversation (e.g. to send a meeting confirmation).
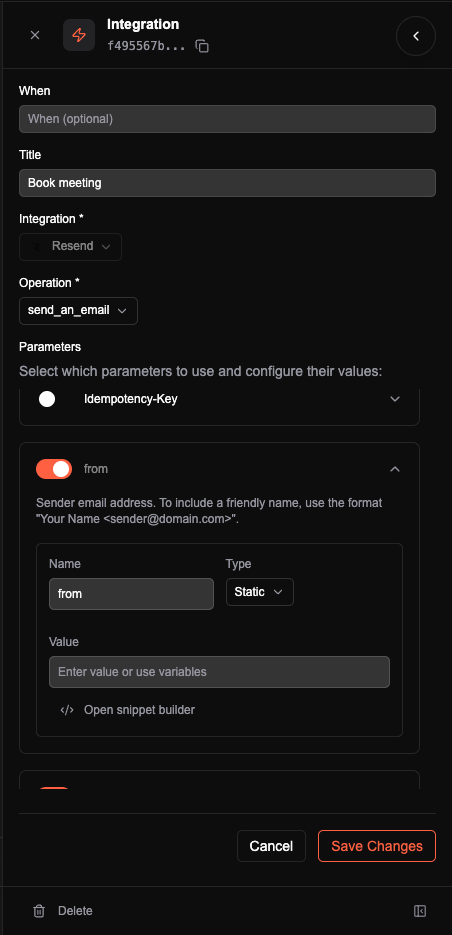
Step 2: Name the tool (Book meeting)
Configure the Resend email node with the sender, recipients, subject, and body. Set the node’s name (or tool label) to Book meeting. That name is what the agent sees as the tool name, e.g.book_meeting or “Book meeting”, so the agent can offer to book a meeting and then call this tool to send the email.
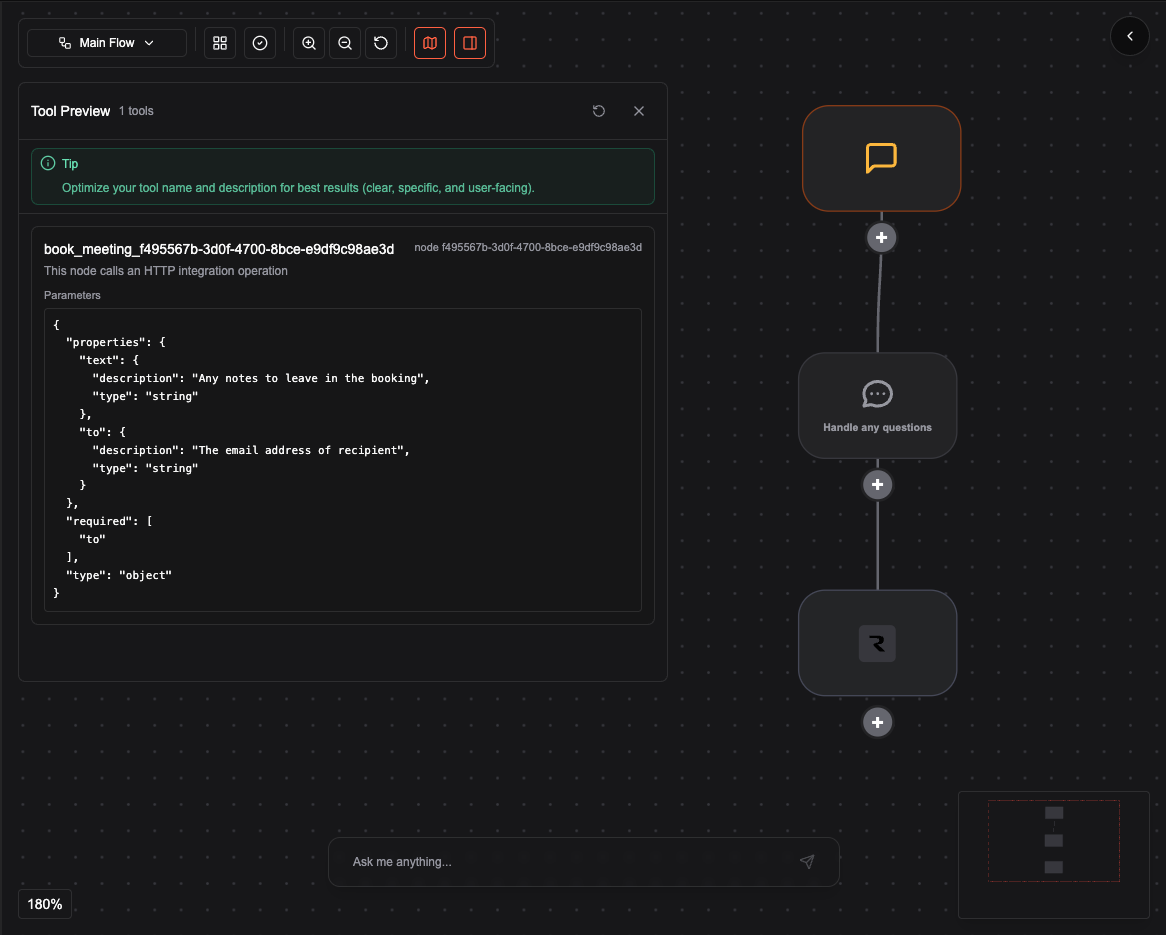
Step 3: Preview the tool in the Agent Editor
Every function node in the conversation graph becomes a tool. In the Agent Editor you can preview the tools generated from your graph. That preview shows exactly what the agent sees: tool name (e.g. Book meeting), description, and parameters. Use it to confirm the agent has the right capability and to tune names and descriptions for better behavior.