

Prerequisites
- A Freshdesk account - Sign up
- A Vatel AI organization and at least one agent
Configuration
Step 1: Log in to Freshdesk
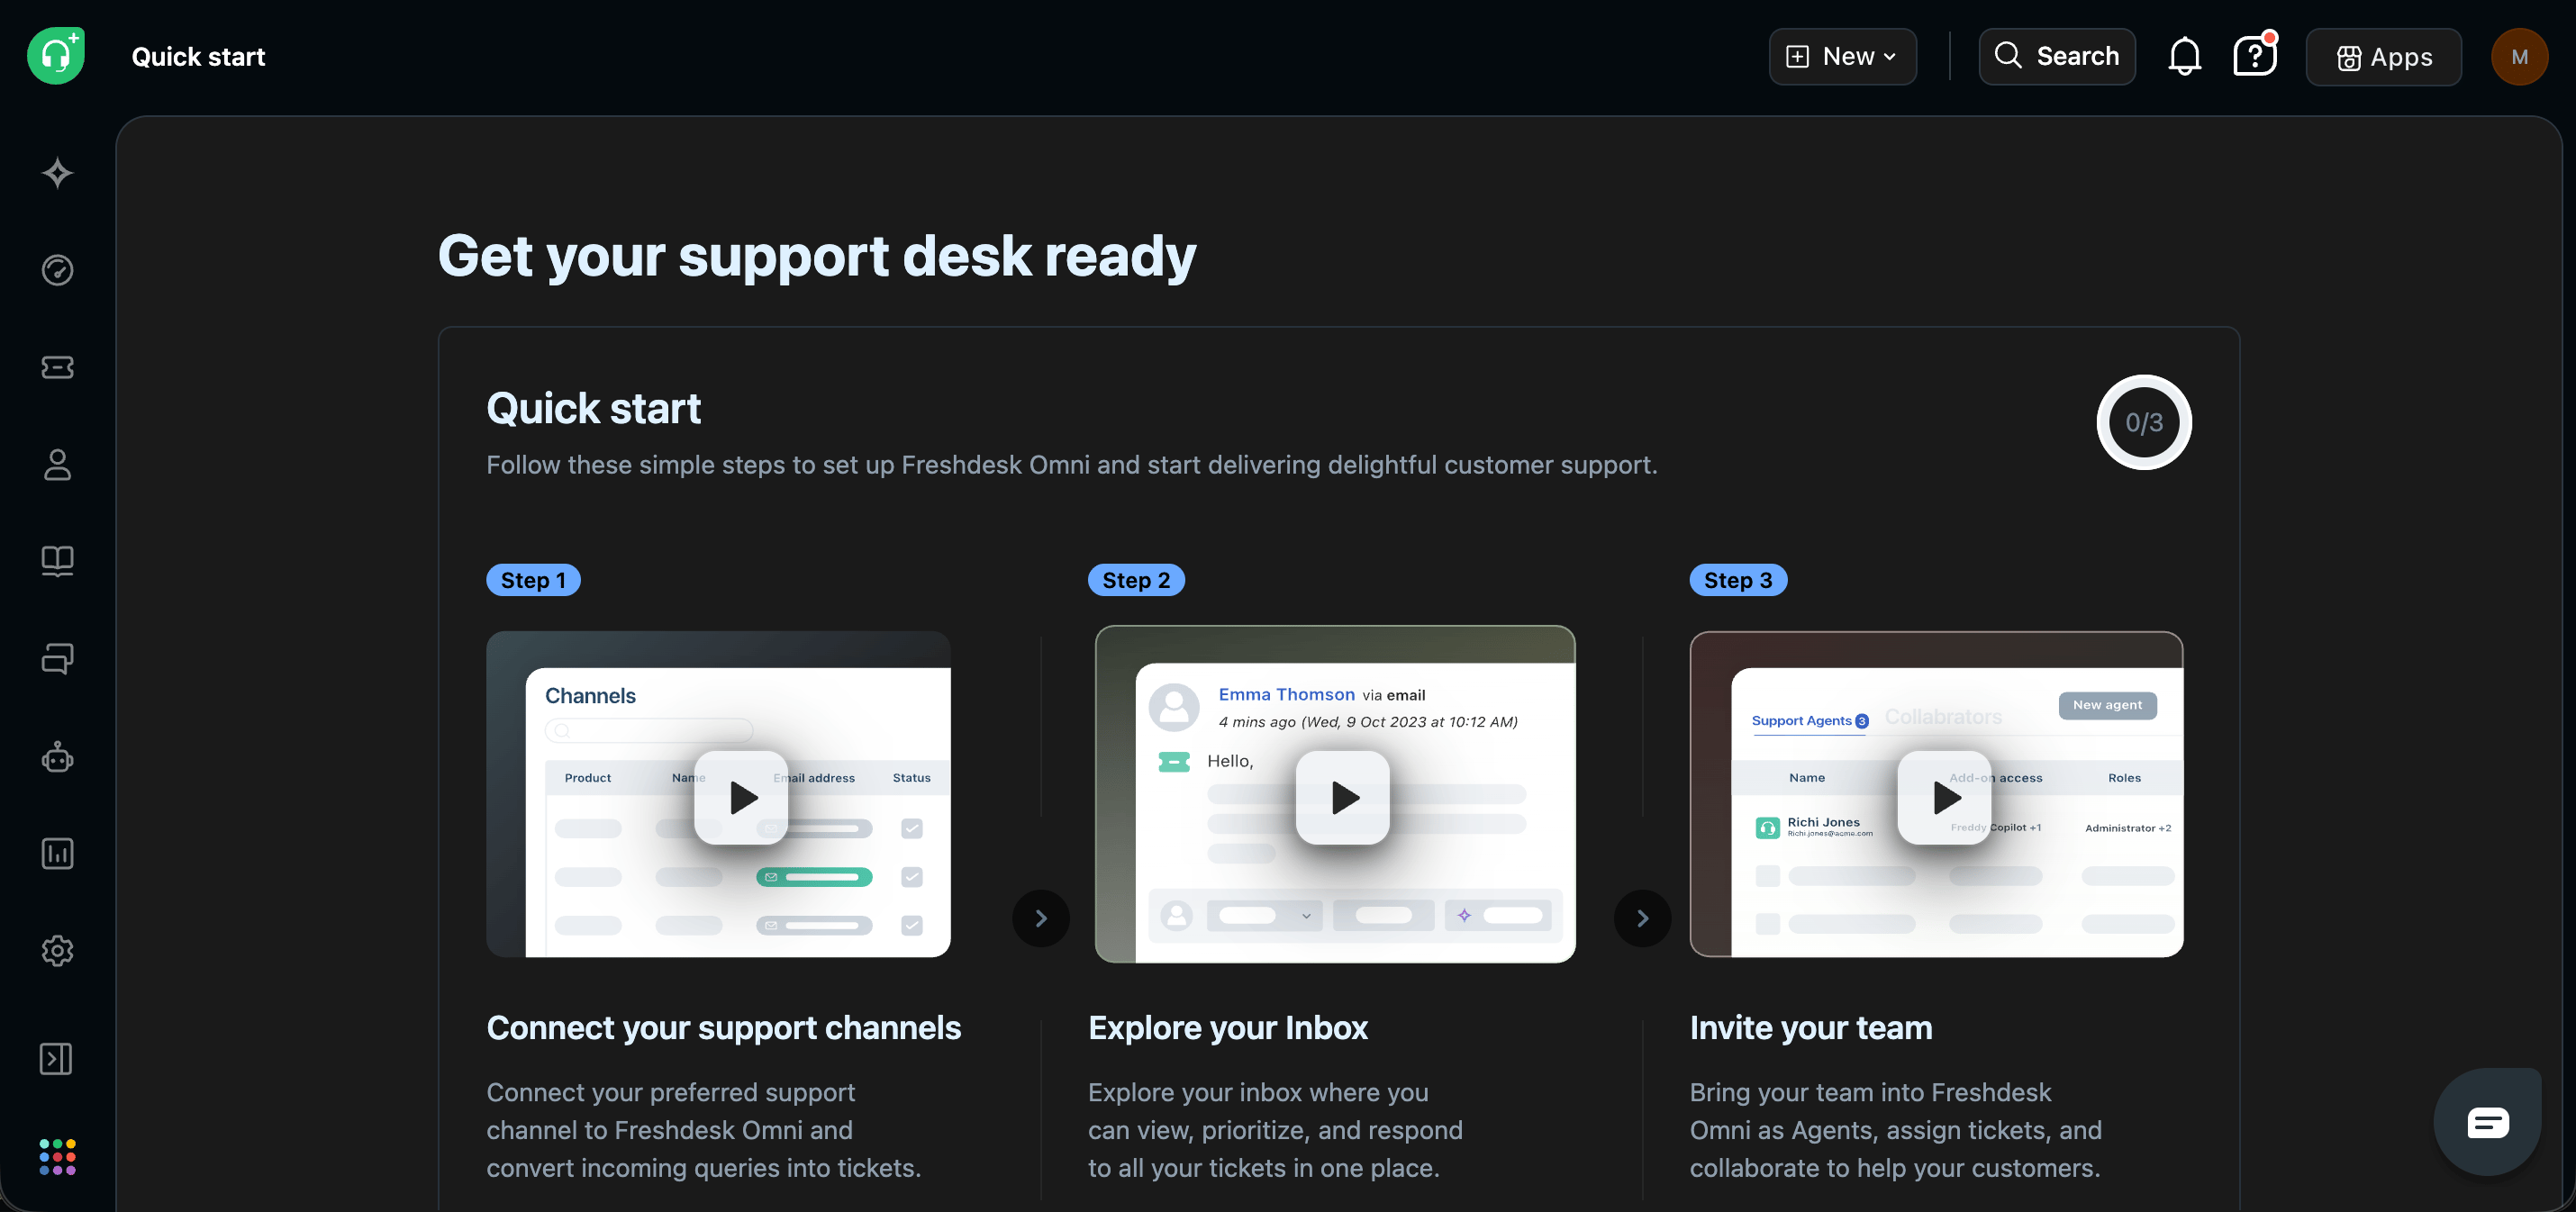
- Go to your Freshdesk account (e.g.
yourcompany.freshdesk.com) and log in.
Step 2: Open Profile Settings
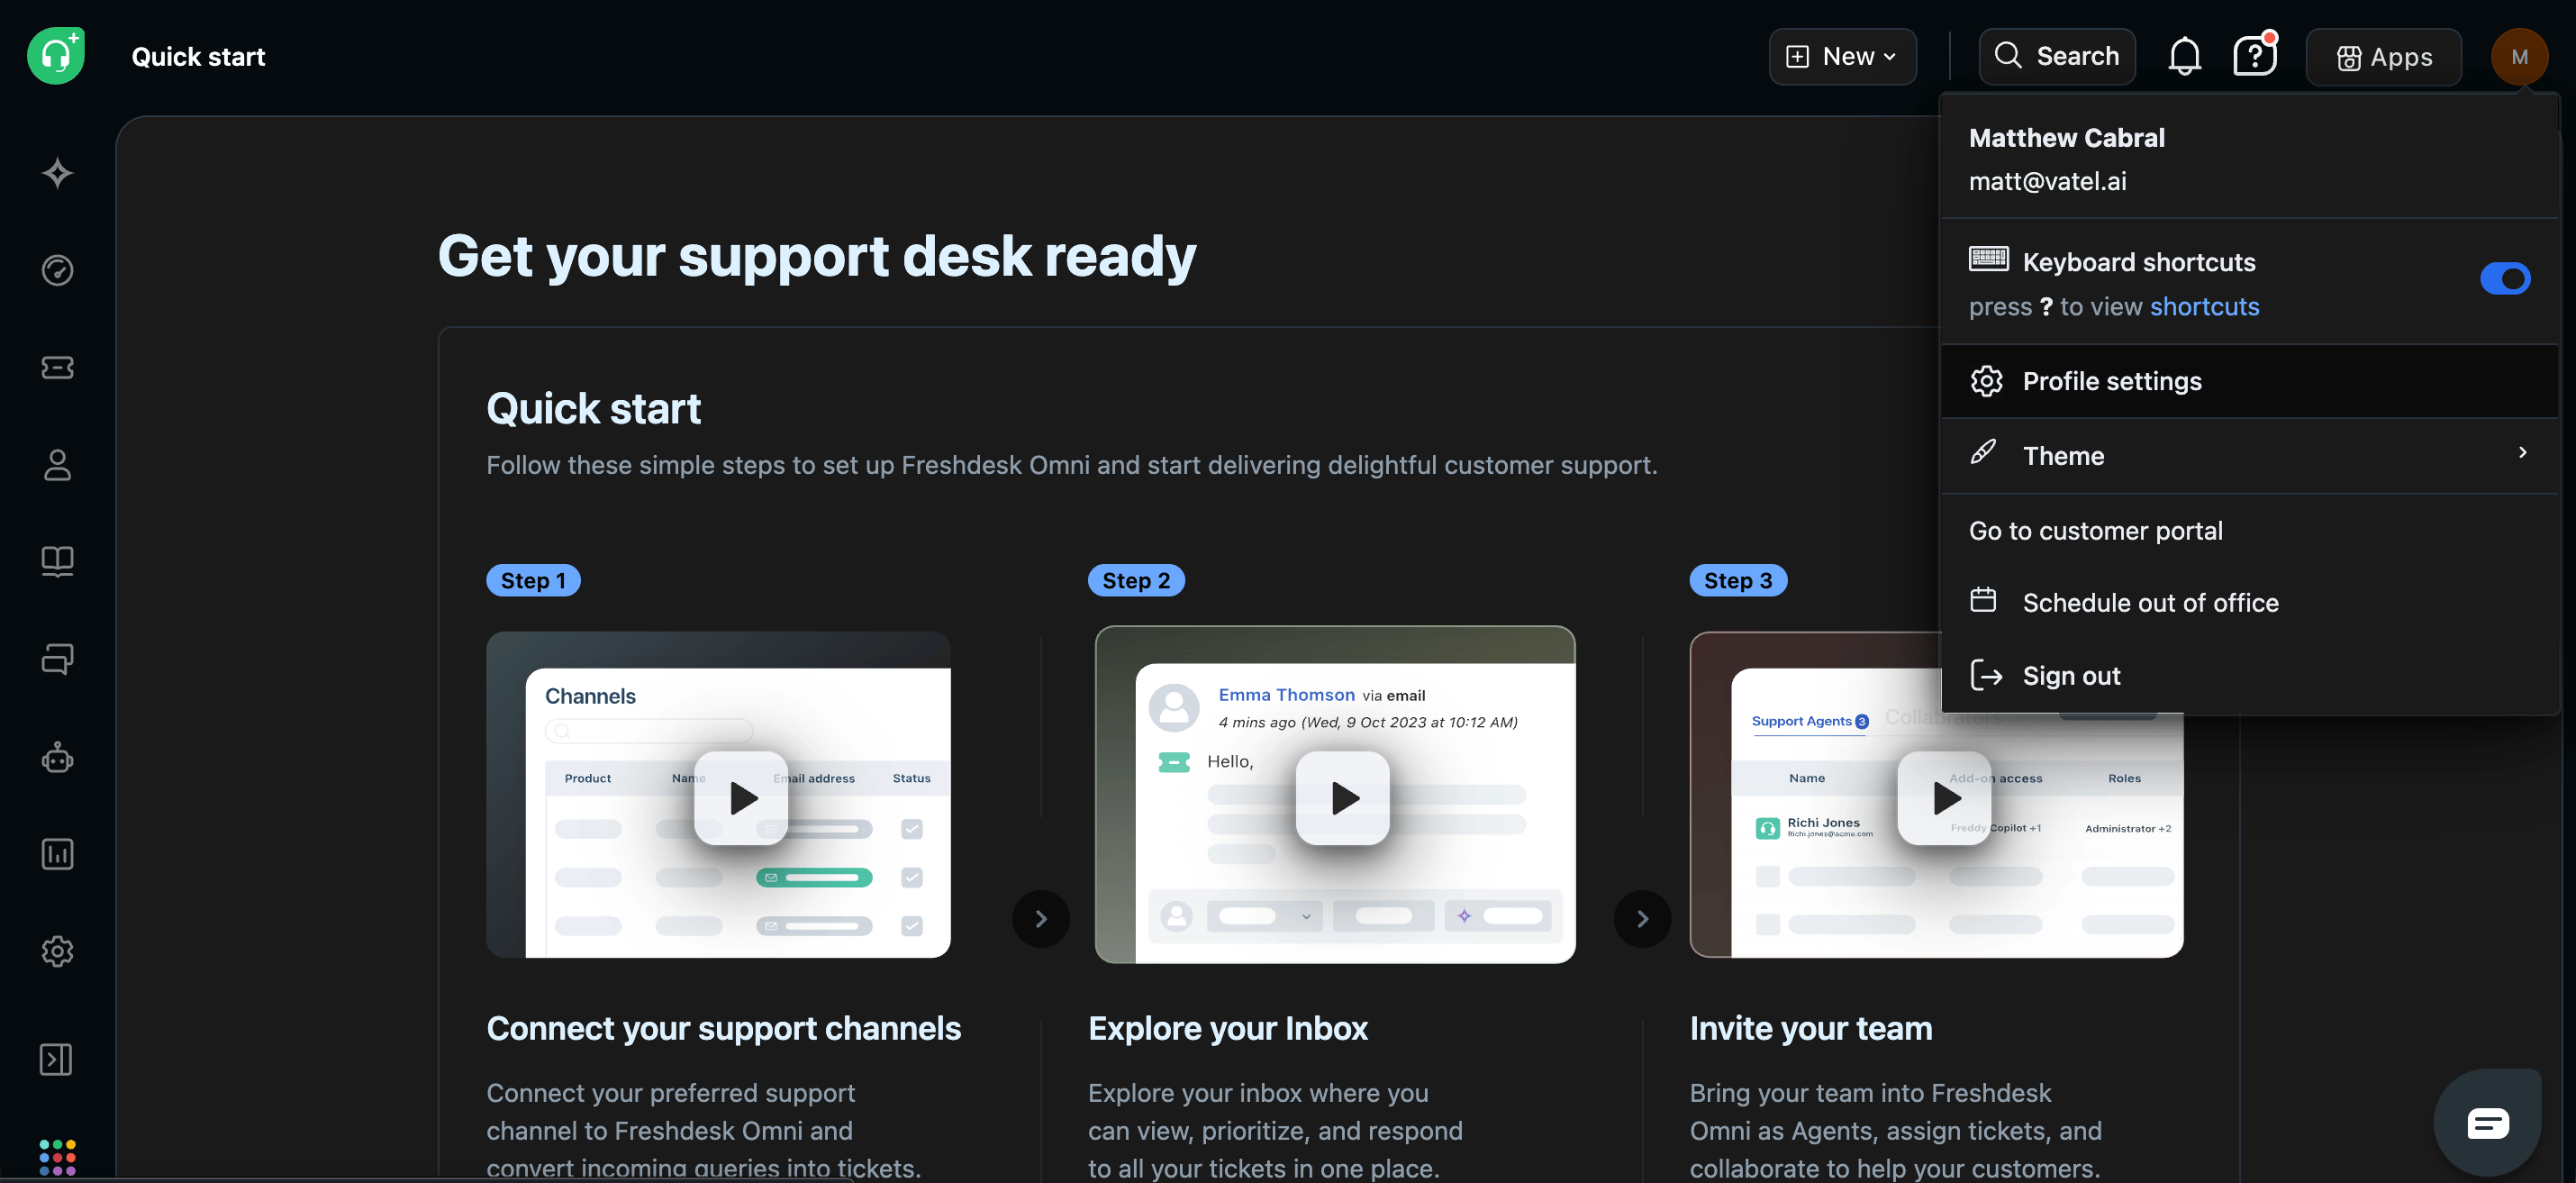
- Click your avatar in the top-right corner of the page.
- In the dropdown menu that appears, click Profile settings.
Step 3: Reveal your API Key
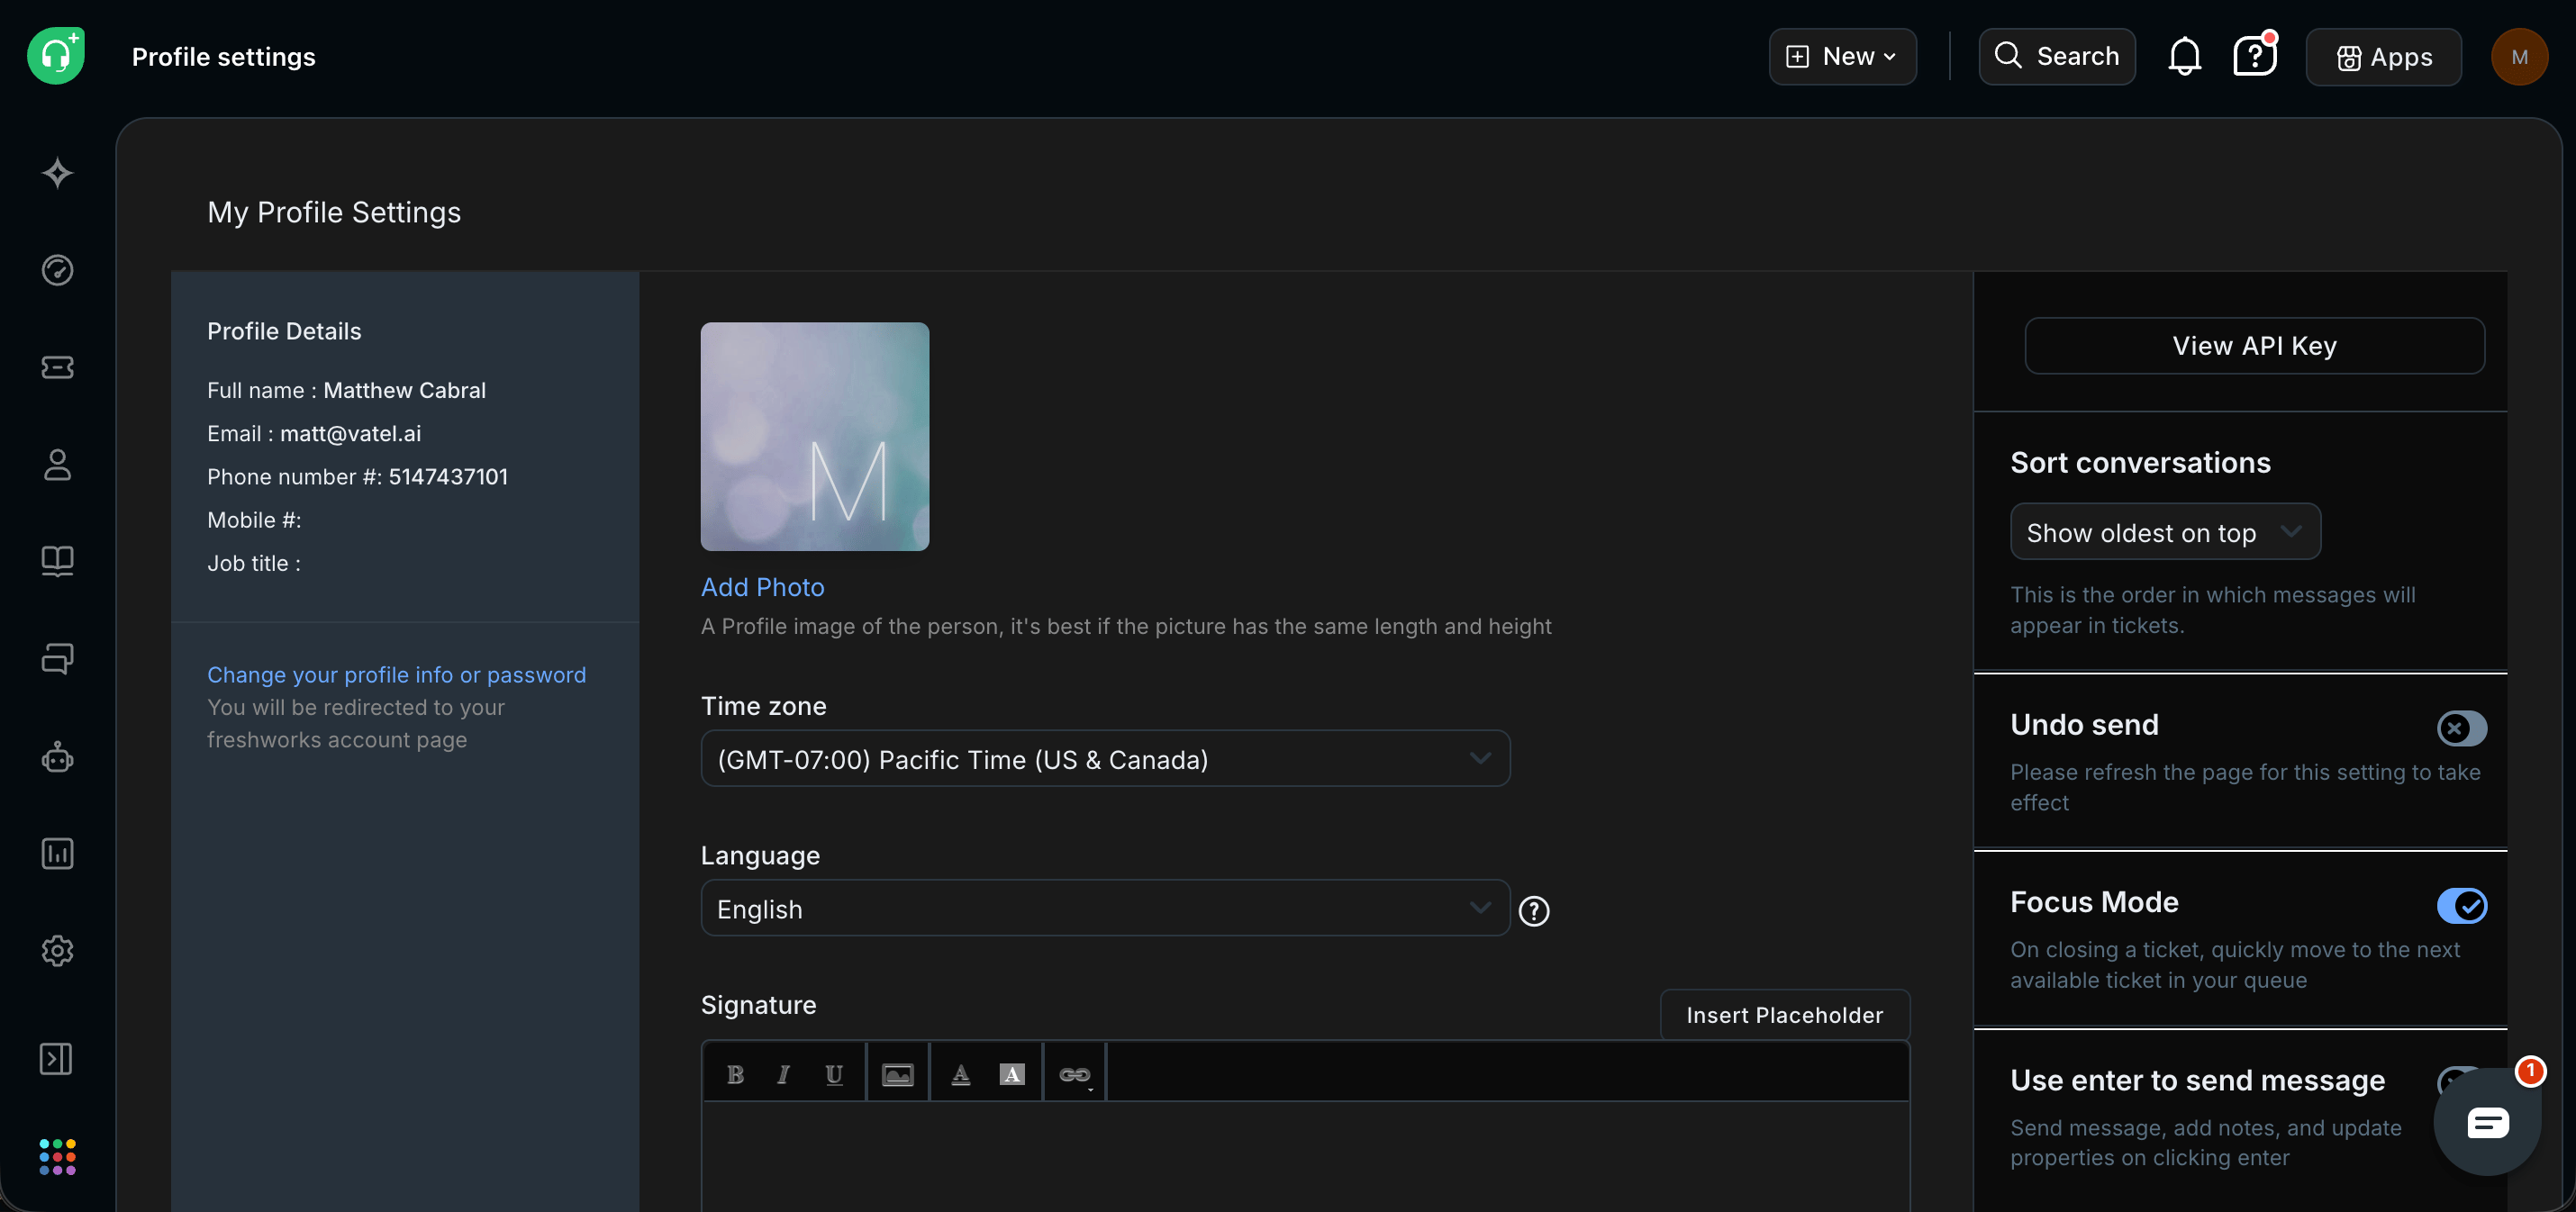
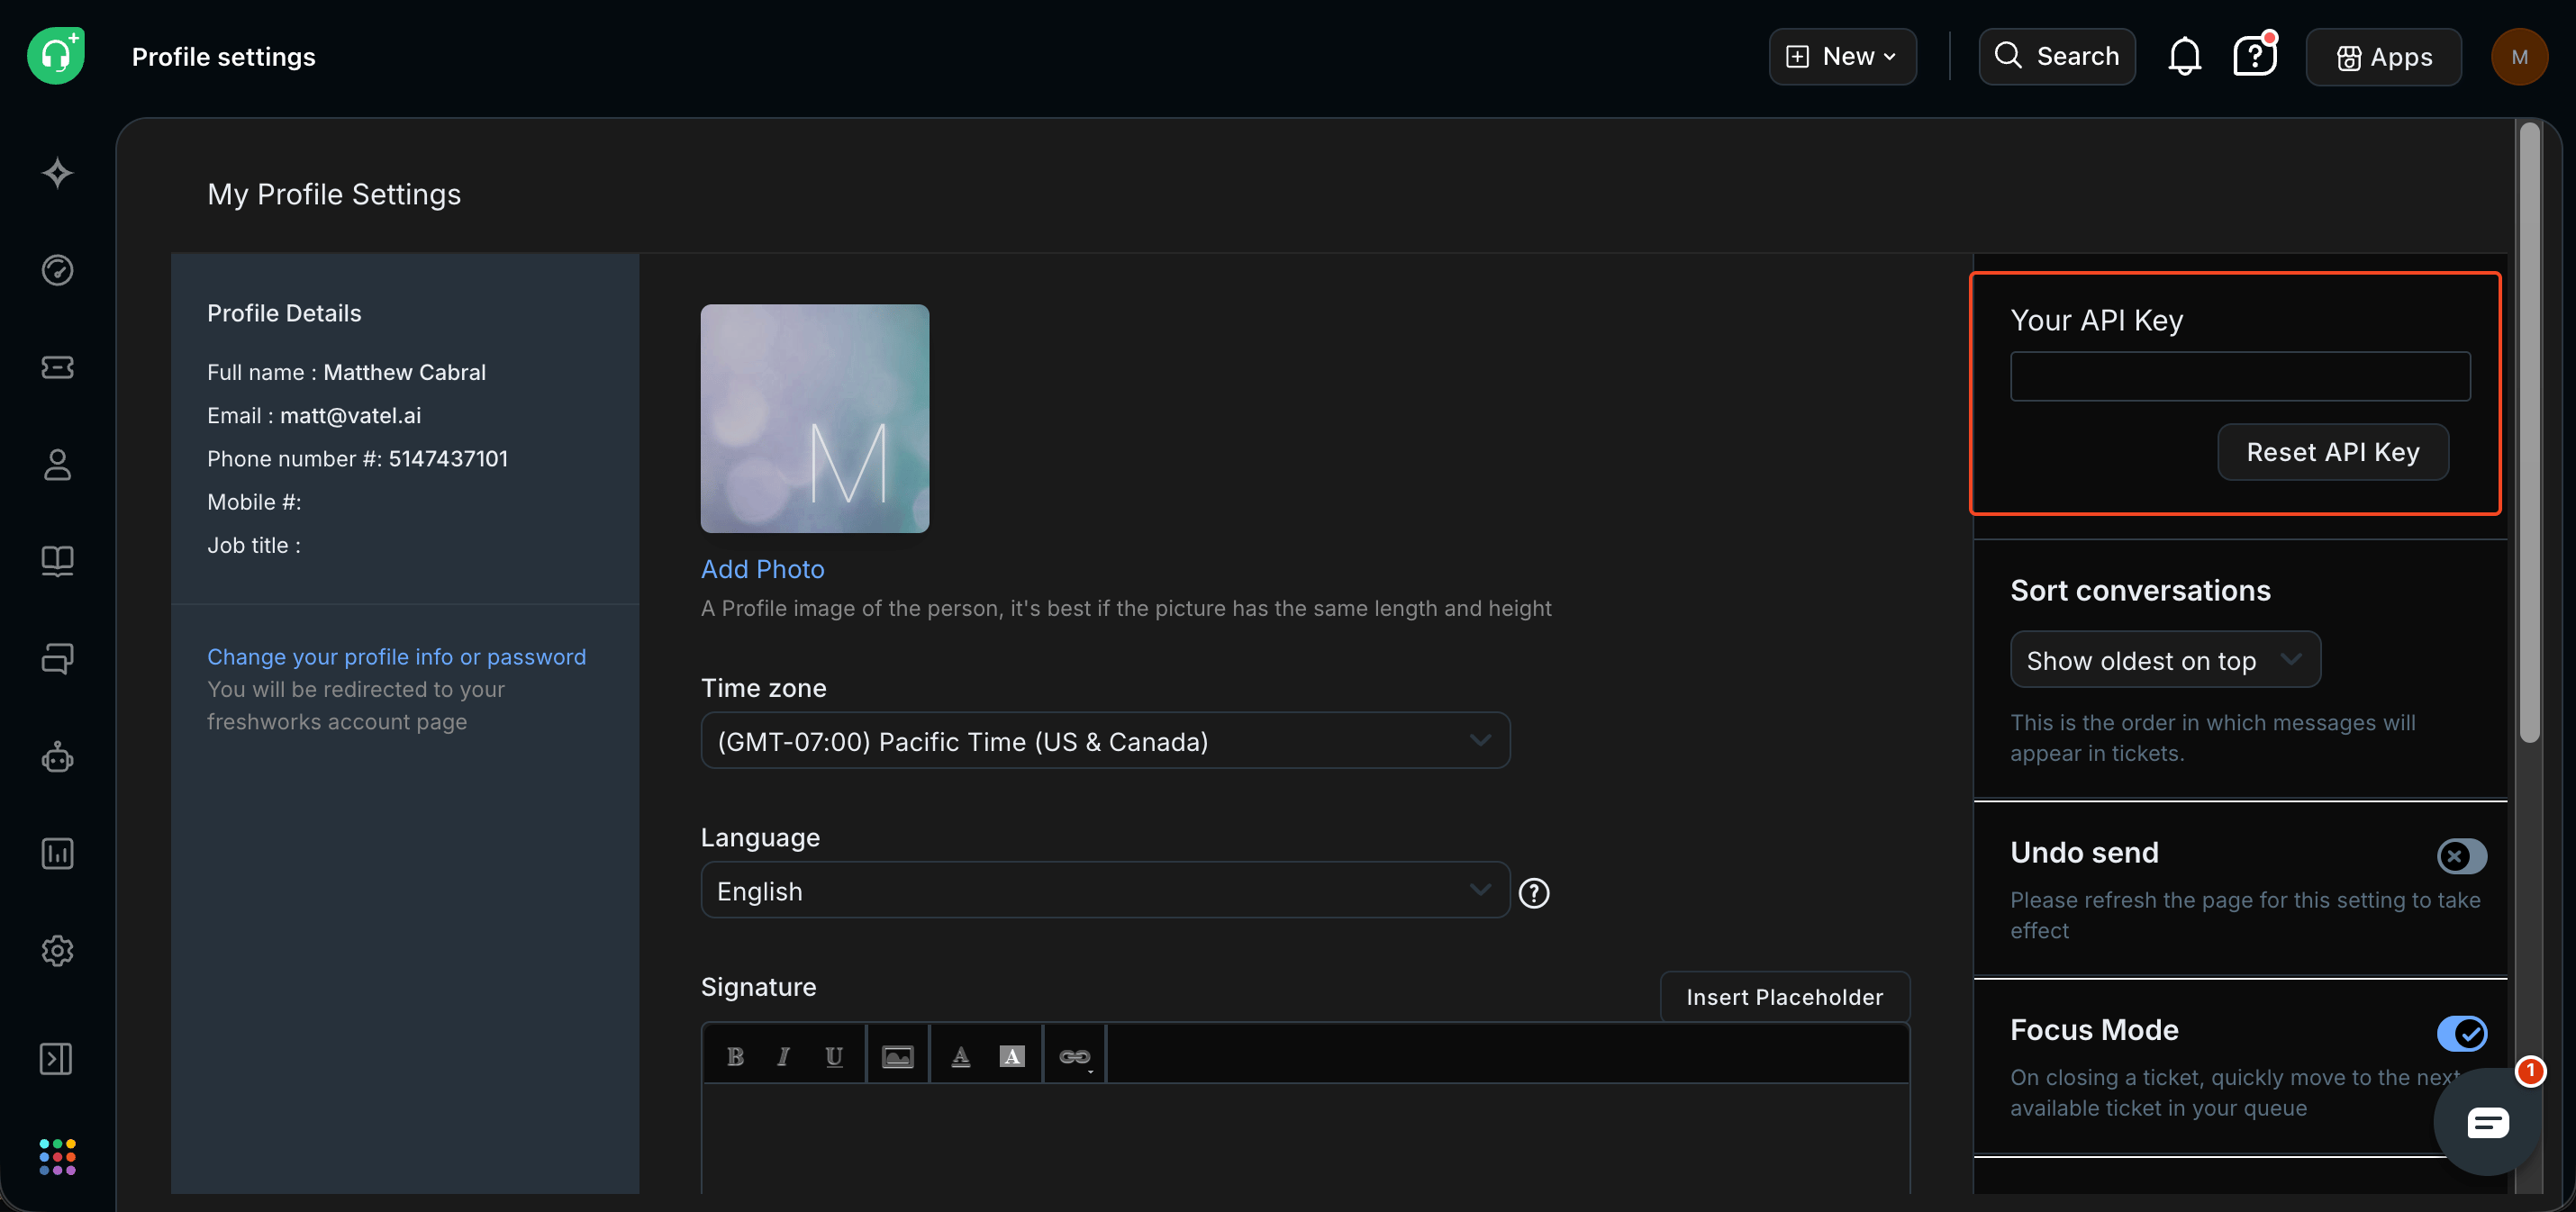
- On the My Profile Settings page, locate the Your API Key section on the right side of the screen.
- Click View API Key to reveal it, then copy the key.
Step 4: Connect the integration in Vatel
- In the Vatel sidebar, click Integrations.
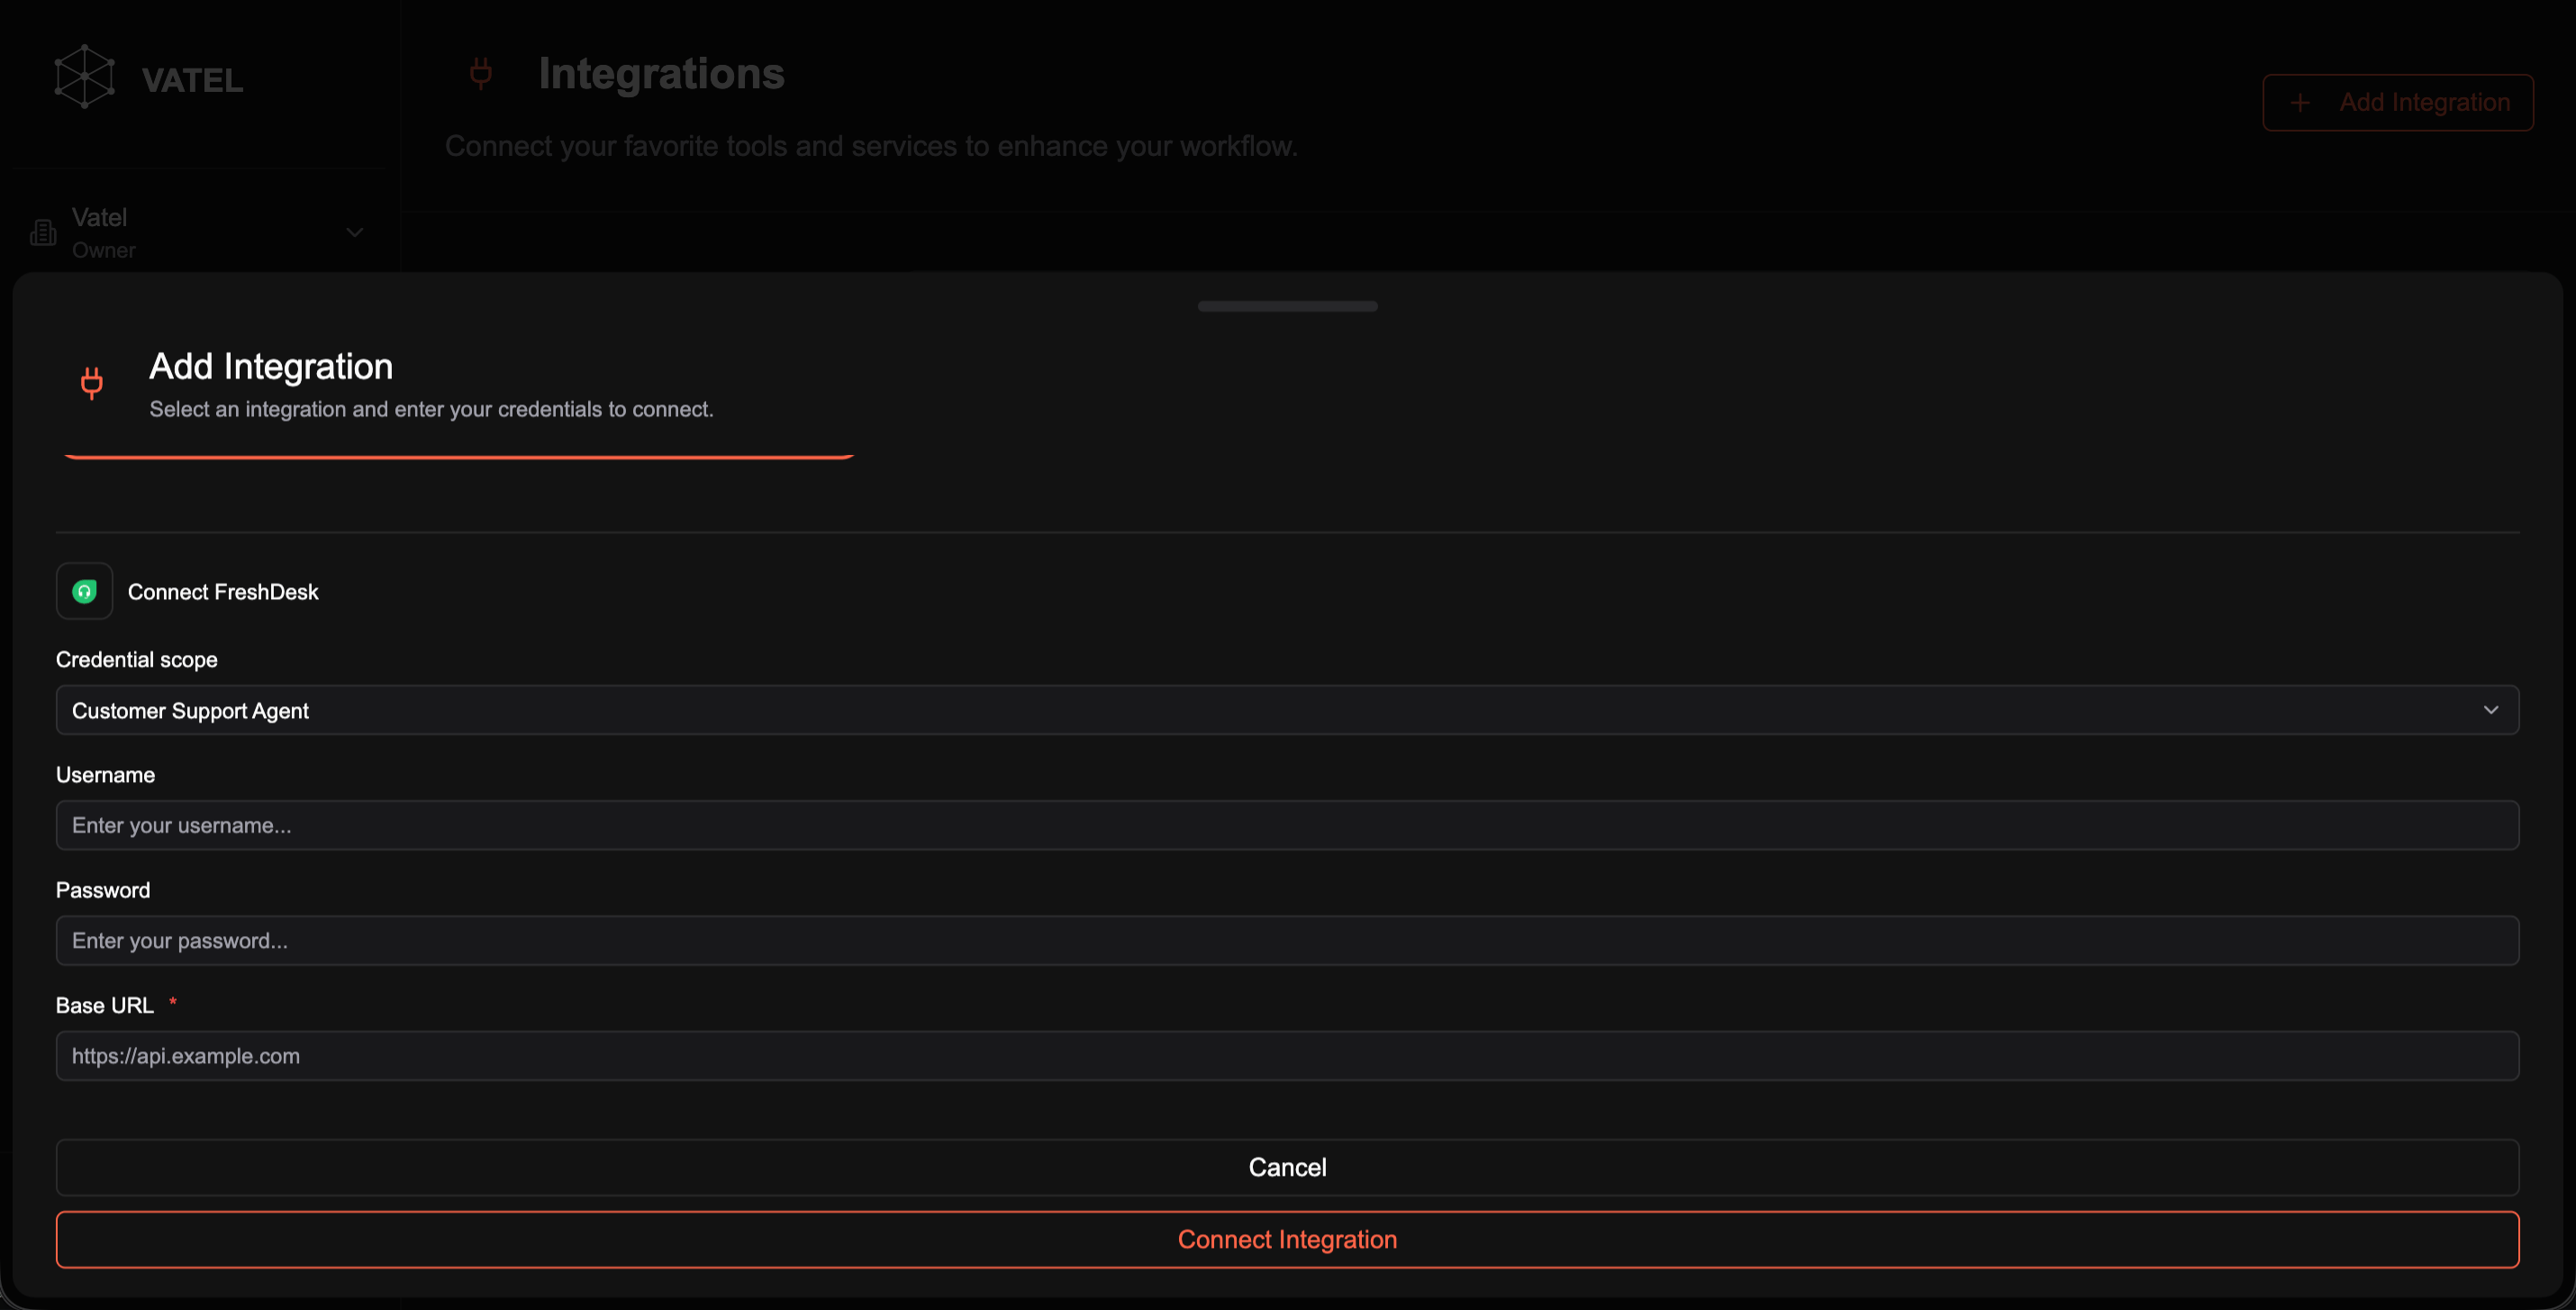
- Click Add Integration in the top-right.
- Select FreshDesk.
- Set Credential scope to the agent you want to connect, or Organization-wide (all agents).
- In the Username field, paste your Freshdesk API Key.
- In the Password field, enter
X(Freshdesk uses the API key for authentication — the password is not used). - In the Base URL field, enter your Freshdesk account URL (e.g.
https://yourcompany.freshdesk.com). - Click Connect Integration.
Step 5: Use the integration in your agent graph
- Open an agent and go to its graph editor.
- In the left sidebar under Integrations, you will see FreshDesk listed. Click it to add it as a node.
- In the node panel that opens on the right, give the node a Title, then select an Operation from the dropdown (e.g. create ticket, get contact, update ticket).
- Fill in any relevant field values or map them from graph variables.
- Click Save Changes.
- Start a call to test the node in your agent flow.