Getting Started
Deploy your first AI phone receptionist agent in just a few minutes: it answers basic questions, handles call transfers, and sends emails.
Ideal for getting familiar with the Vatel platform.
0. Prerequisites
Before creating your first agent, make sure you are logged into the platform and have at least one valid organization.
-
User account
- Verify that you are logged into your account.
- Consult the User Account page if needed.
-
Organization
- Verify that you have at least one organization in your account.
- Consult the Organization page if needed.
1. Create an agent
From the dashboard, create your first agent to start exploring the platform.
-
Creation
- From the Overview tab in the Quick Actions section or the Agents tab, click New Agent, then give your agent a name.
-
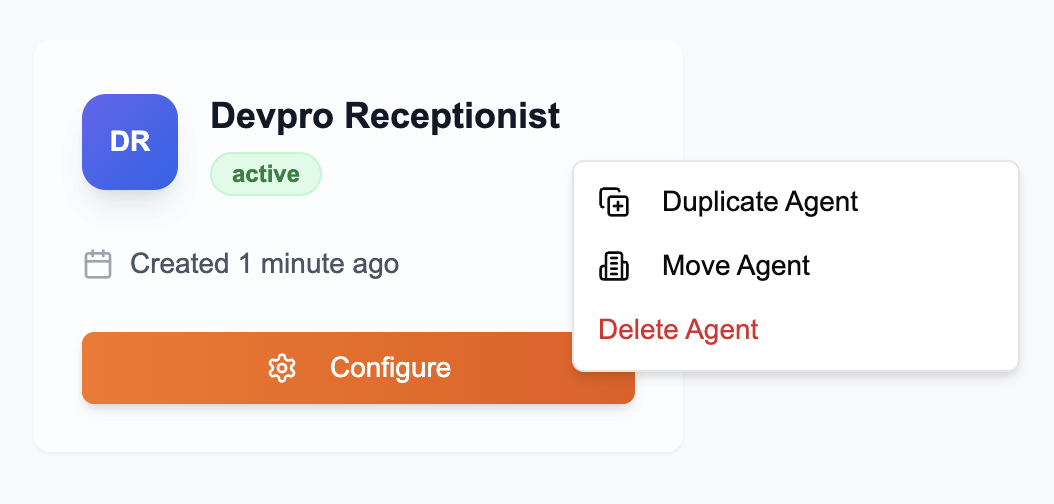
Once created, you can:
- Duplicate the agent to reuse its configuration.
- Move the agent to another organization.
- Delete the agent if needed.
-
Configuration
- Click Configure to open the agent editor to start defining your agent's logic and behavior.
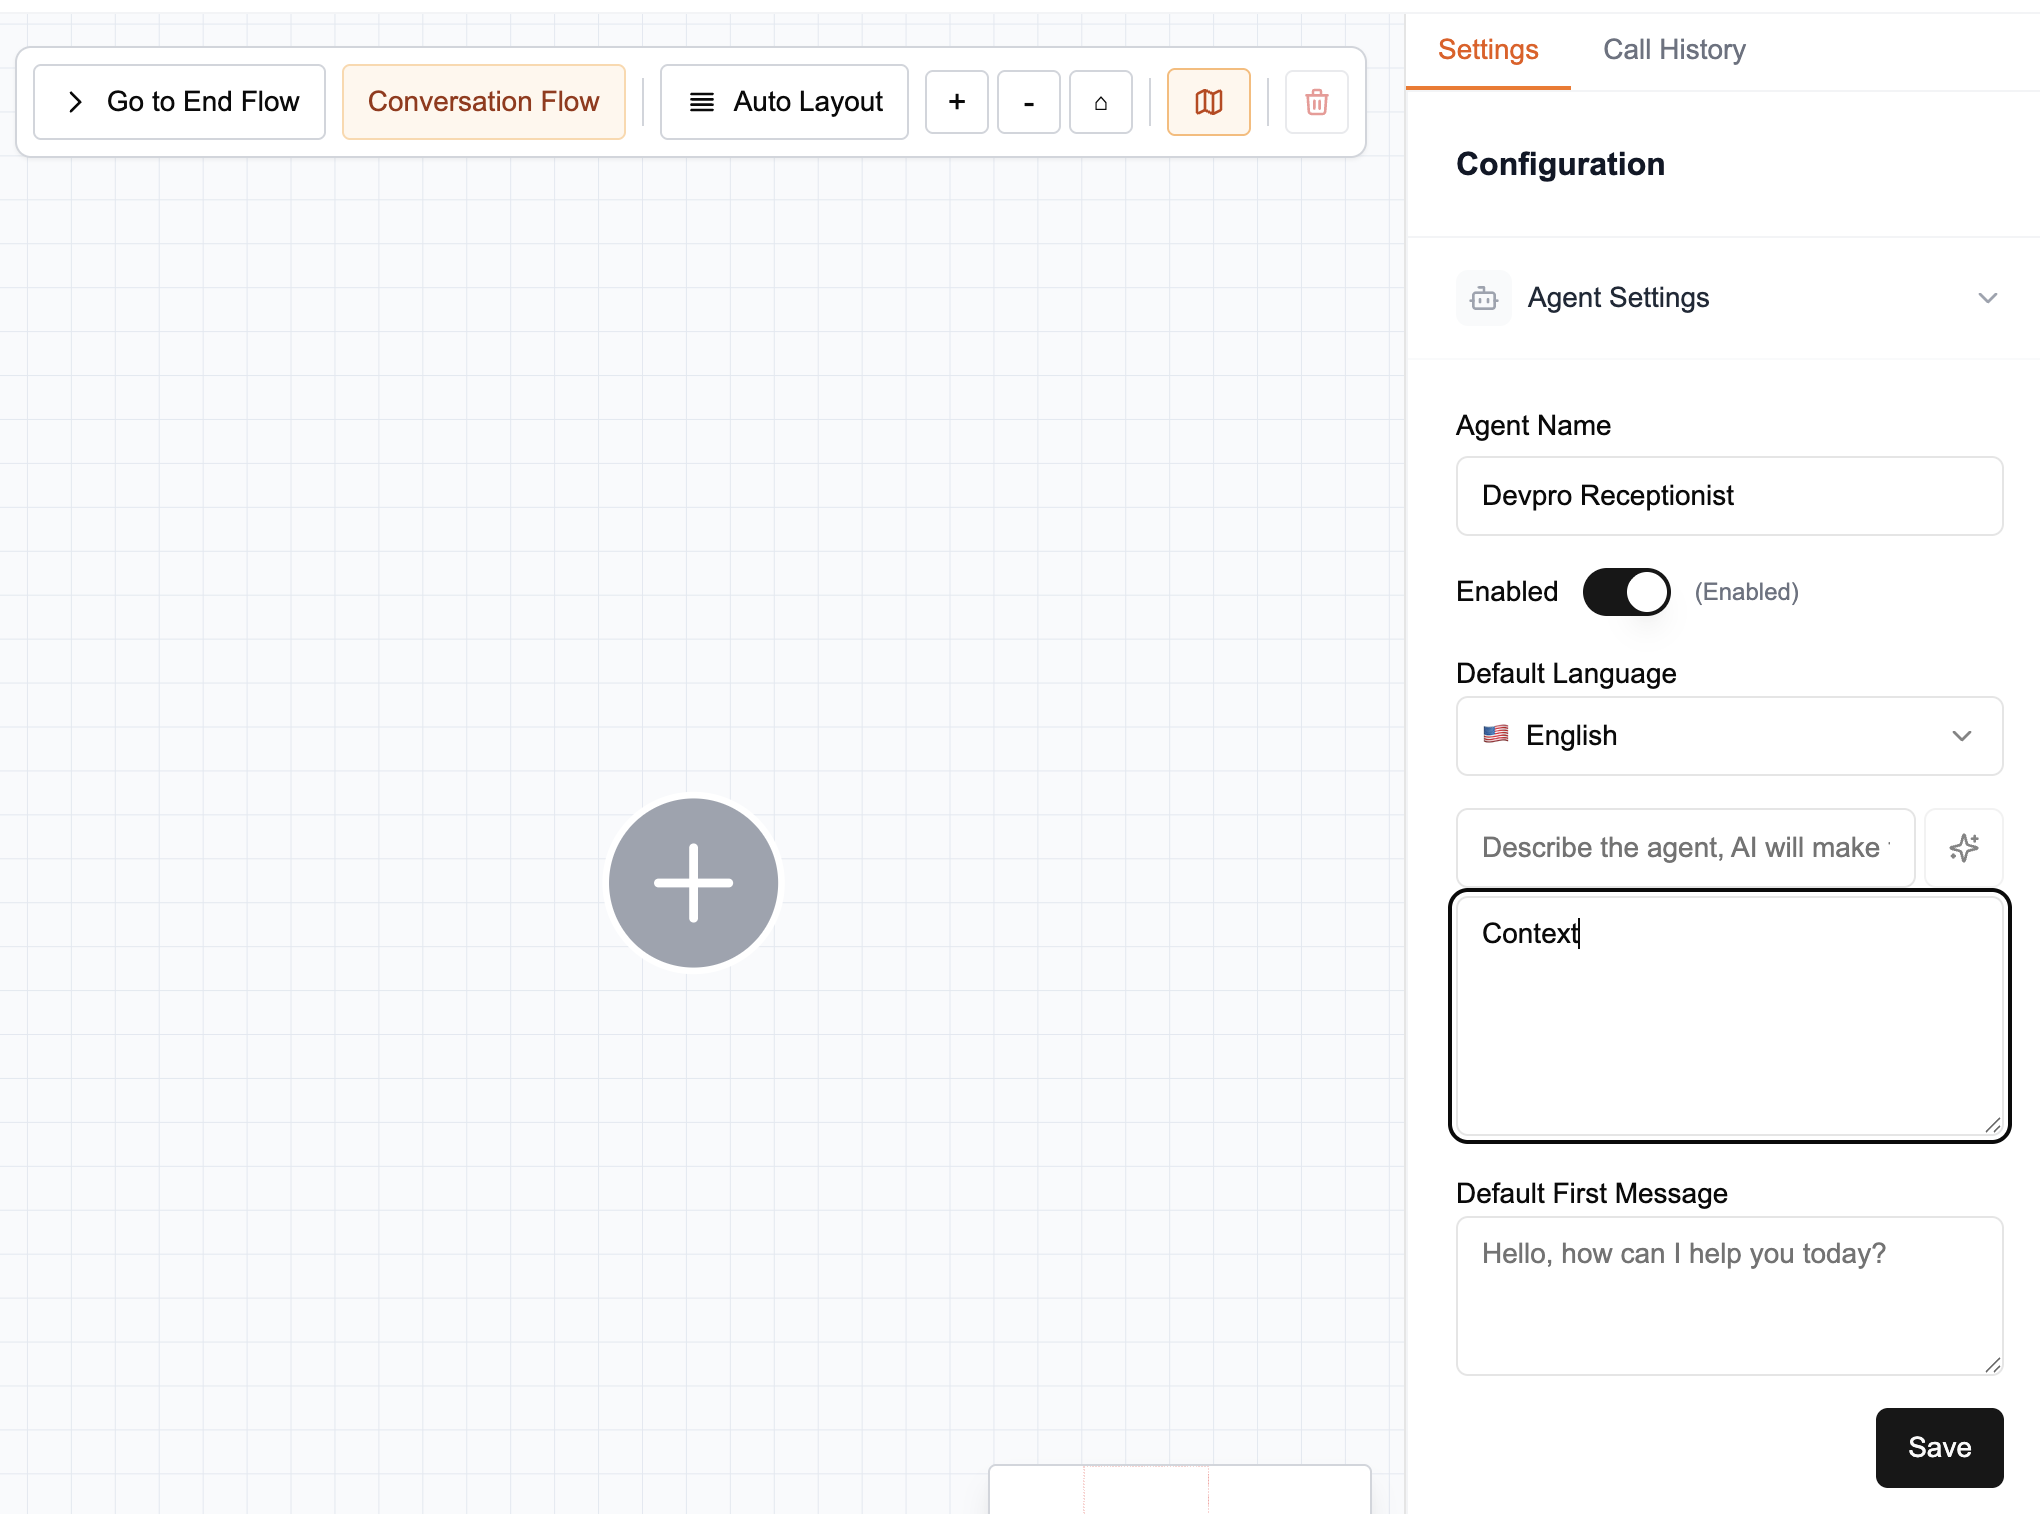
2. Add company context
For your agent to answer customer questions correctly, it must have access to relevant information: the context.
- Copy the following context
For the purposes of this tutorial, simply copy the following text:
# Devpro Digital

## Presentation

- Canadian company based in Laval (Quebec).
- Specialist in software solutions integrating artificial intelligence and business process automation.
- Active in various sectors (telecommunications, insurance, transportation, healthcare, retail, construction).
- Over 10 clients and a 100% customer satisfaction rate claimed.

## Products and services

### Services

- AI integration into existing systems.
- Automation of repetitive tasks with low added value.
- Custom software development tailored to specific needs.
- System integration (connection and data synchronization between platforms).
- Cloud migration to optimize infrastructure and costs.
- IT consulting for strategic and technical support.

### Products

- Bilingual AI virtual agent (French/English) operating 24/7 for incoming/outgoing calls, appointment scheduling, lead qualification, call routing.
- Custom automation and AI solutions tailored — without a public pricing structure.

## Pricing or plans

- No standard pricing plans displayed publicly.
- A free consultation is offered to evaluate the project and define the terms.

## Contact information

- Address: 3150 Boulevard Le Corbusier, Laval (QC) H7L 4S8, Canada.
- Phone: (514) 743-7101
- Email: info@devprodigital.com
- Business hours: Monday to Friday 9 AM – 6 PM (closed on Saturday and Sunday).
- Social media presence: LinkedIn profile under "Devpro Digital".

## Key information for customers

- Solutions adapted to multiple business sectors, enabling flexibility and cross-sector expertise.
- Case studies demonstrating concrete results:

  - An insurance brokerage saved approximately $20,000/year thanks to an AI virtual agent.
  - An engineering firm (Altanergy) automated BigTime / Sage 50 integration, eliminating hours of manual data entry.

- Contact form available for personalized project discussion.

## Policies

- Updated privacy policy: collection, processing, sharing, and retention of personal data are defined.
- User rights specified (access, rectification, deletion).
- Does not process sensitive information.
- No detailed public information on returns, refunds, or SLA support level.

## Distinctive elements or differentiators

- Combination of AI expertise and process automation, rather than simple software development.
- Personalized and tailored approach, without standardized pricing plans displayed — indication of adaptation to client needs.
- Quantified results displayed in case studies, proof of a "measurable impact" orientation.
- Bilingual positioning (English/French) and location in Quebec, which particularly suits North American francophone markets.
-
In the Agent Settings section, paste it into the Context box.
-
Click Save to save your agent's context information.
To learn more about writing good context, consult the Writing Good Context page.
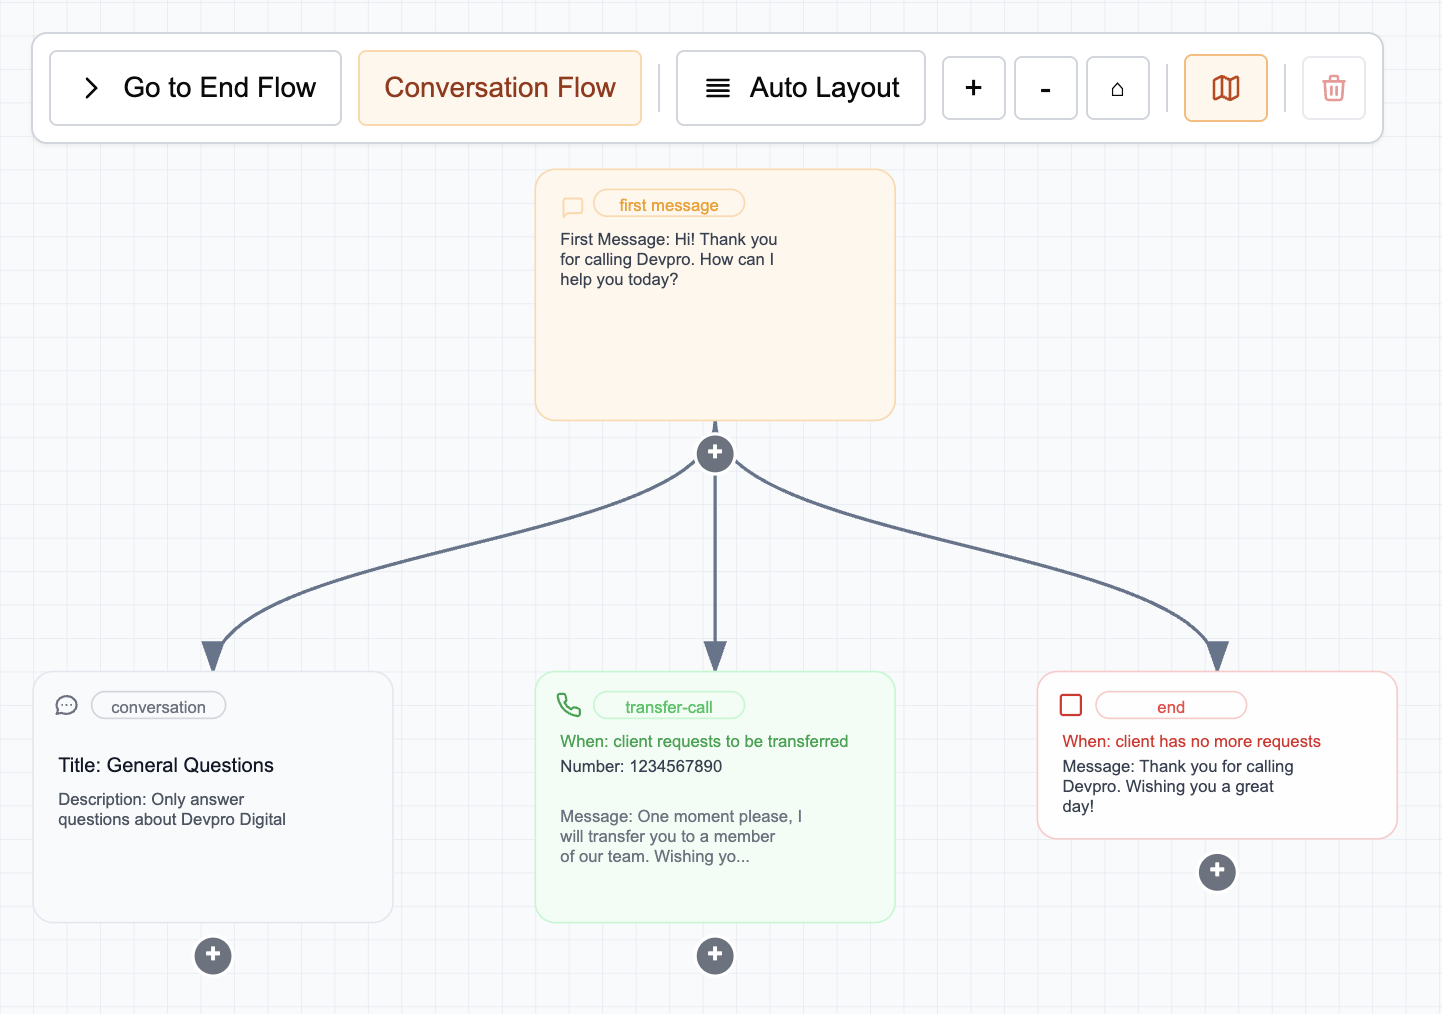
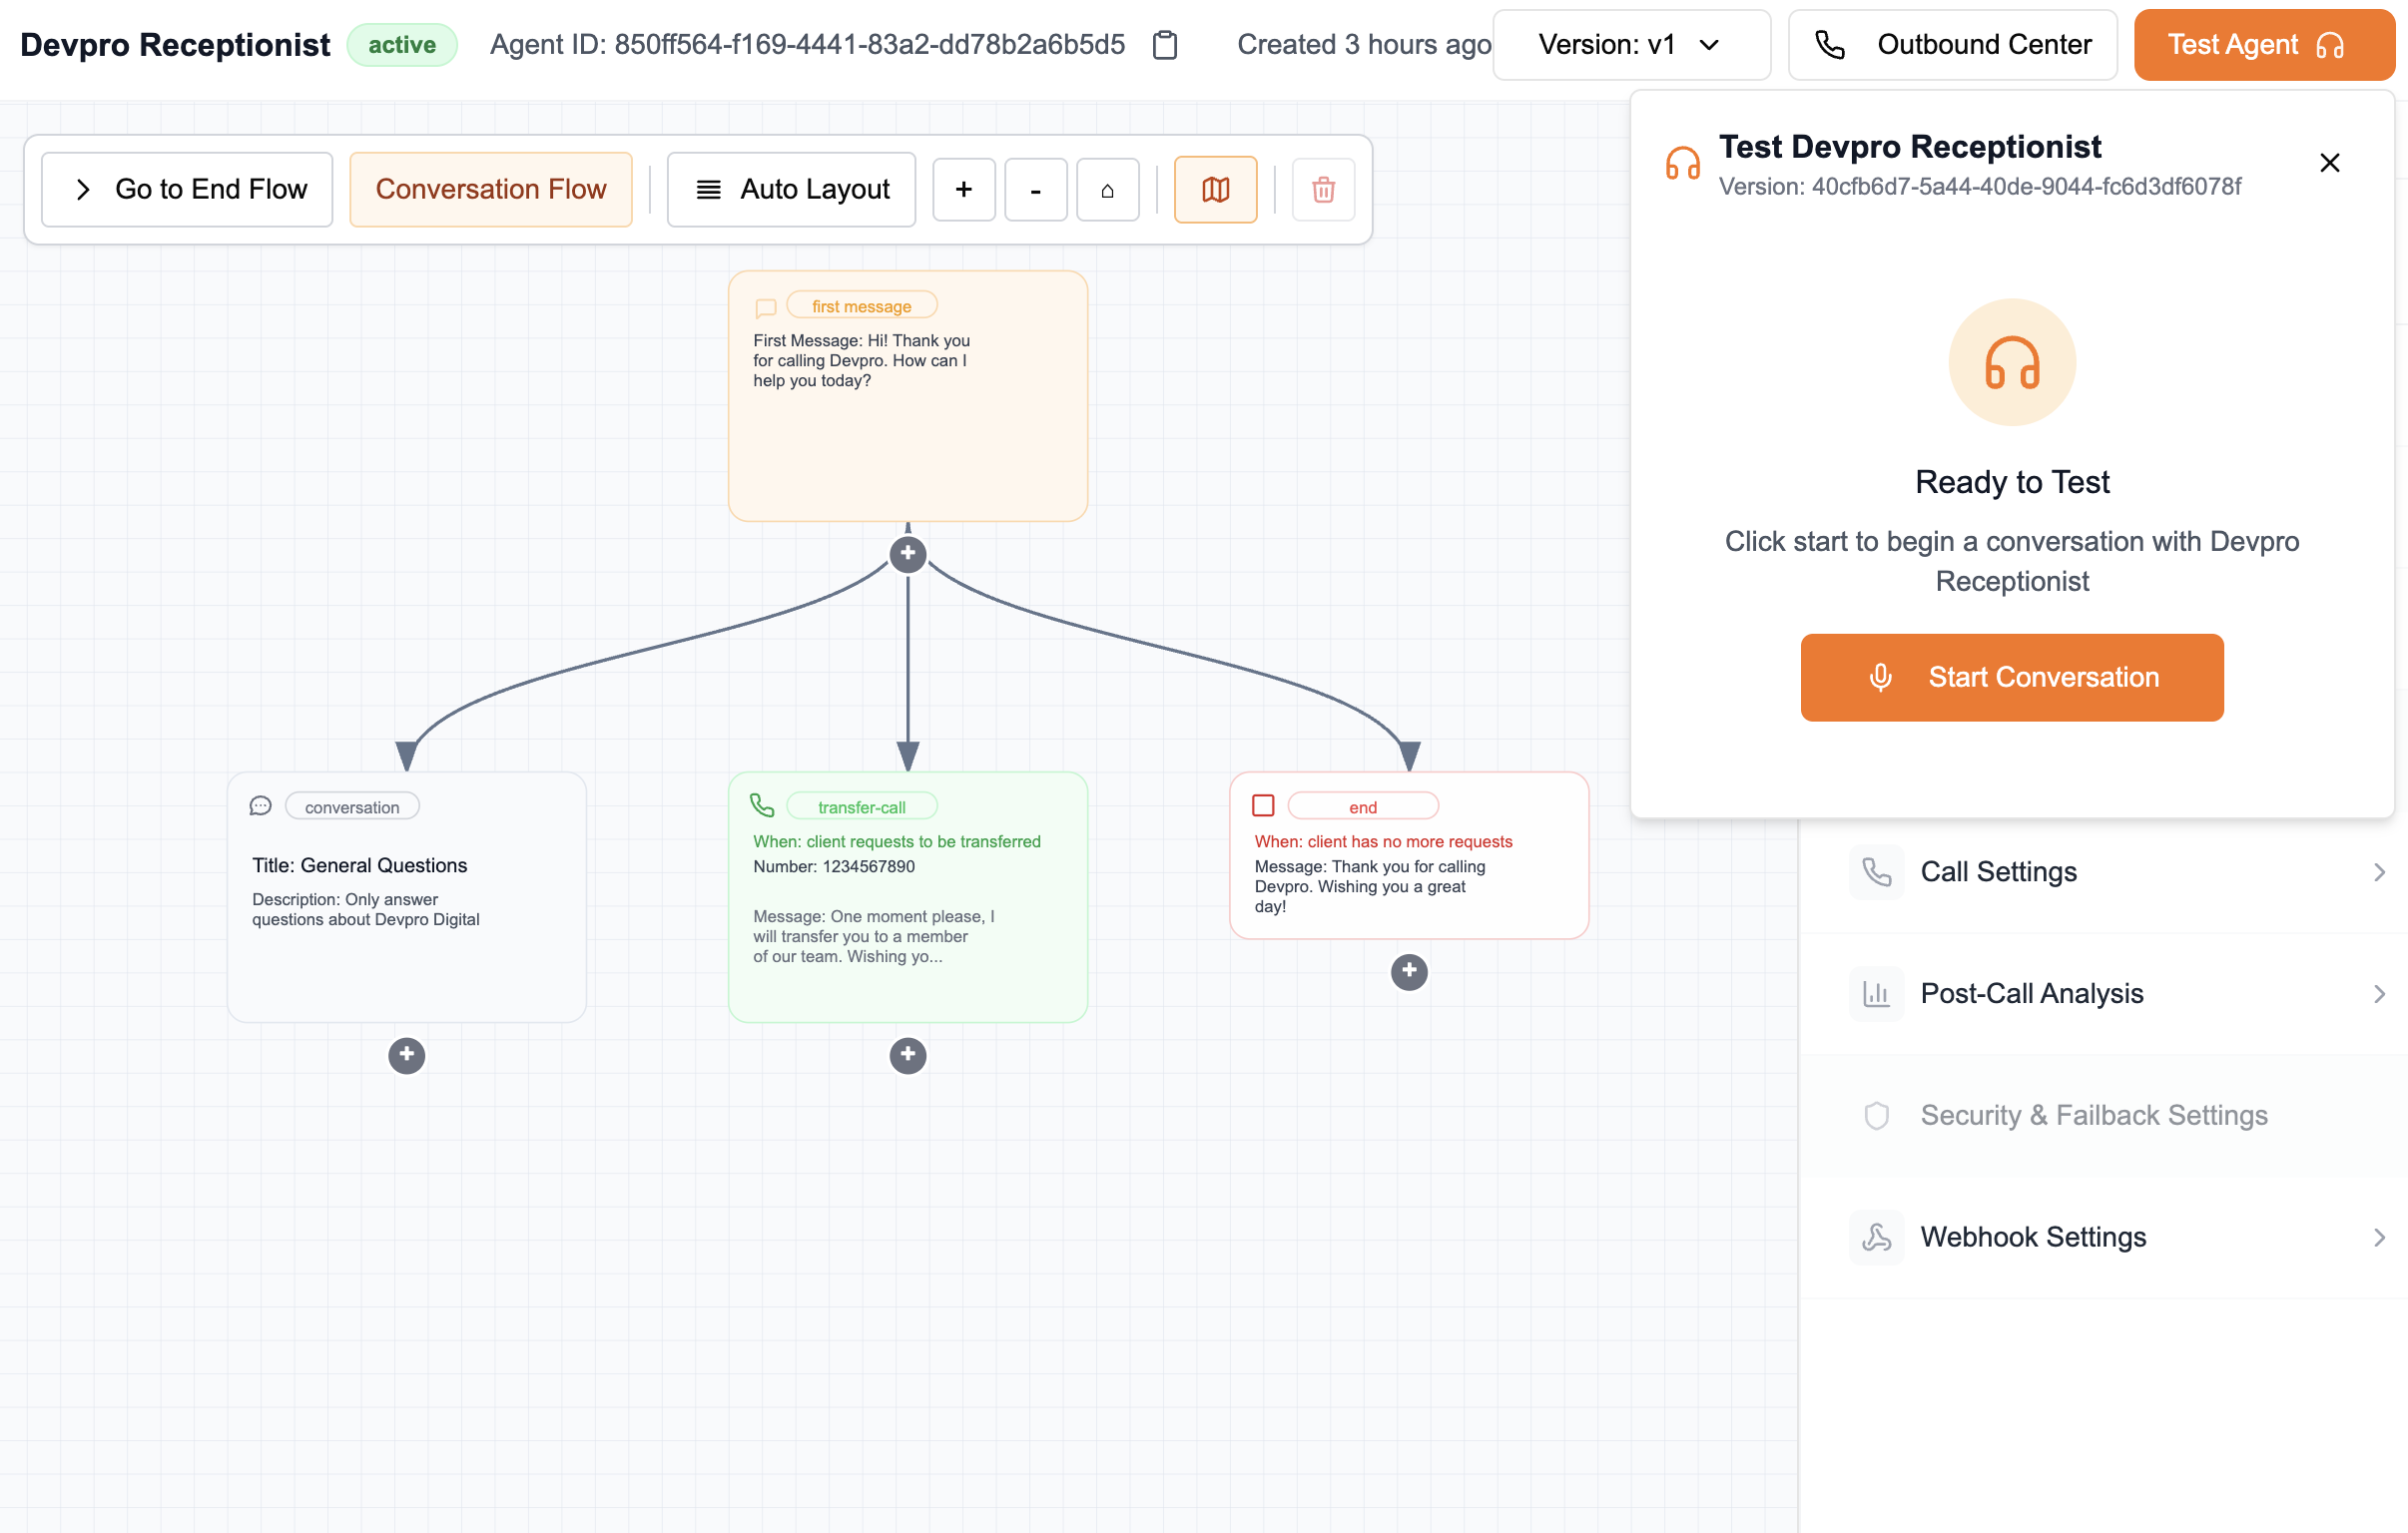
3. Build the graph
The graph defines the agent's behavior during phone conversations. Each node represents an action or decision point that the agent can follow.
-
Add a Welcome Message node
- Enter the message that the agent will say during first contact with the caller
Hi! Thank you for calling Devpro. How can I help you today? -
Add a Conversation node
- Enter the conversation title (Title)
General Questions- Enter the conversation description (Description)
Only answer questions about Devpro Digital -
Add a Transfer node
- Enter the condition to transfer the call (When)
client requests to be transferred- Enter the transfer phone number (Phone Number)
1234567890- Enter the transfer message (Transfer Message)
One moment please, I will transfer you to a member of our team. Wishing you a great day! -
Add an End node
- Enter the condition to end the call (When)
client has no more requests- Enter the end message (Message)
Thank you for calling Devpro. Wishing you a great day!
Your graph should now look like this:
For more details on graphs and the different types of nodes and their uses, consult the Graph and Nodes page.
4. Test the agent
Once the agent is configured, you can test the agent immediately with the default settings.
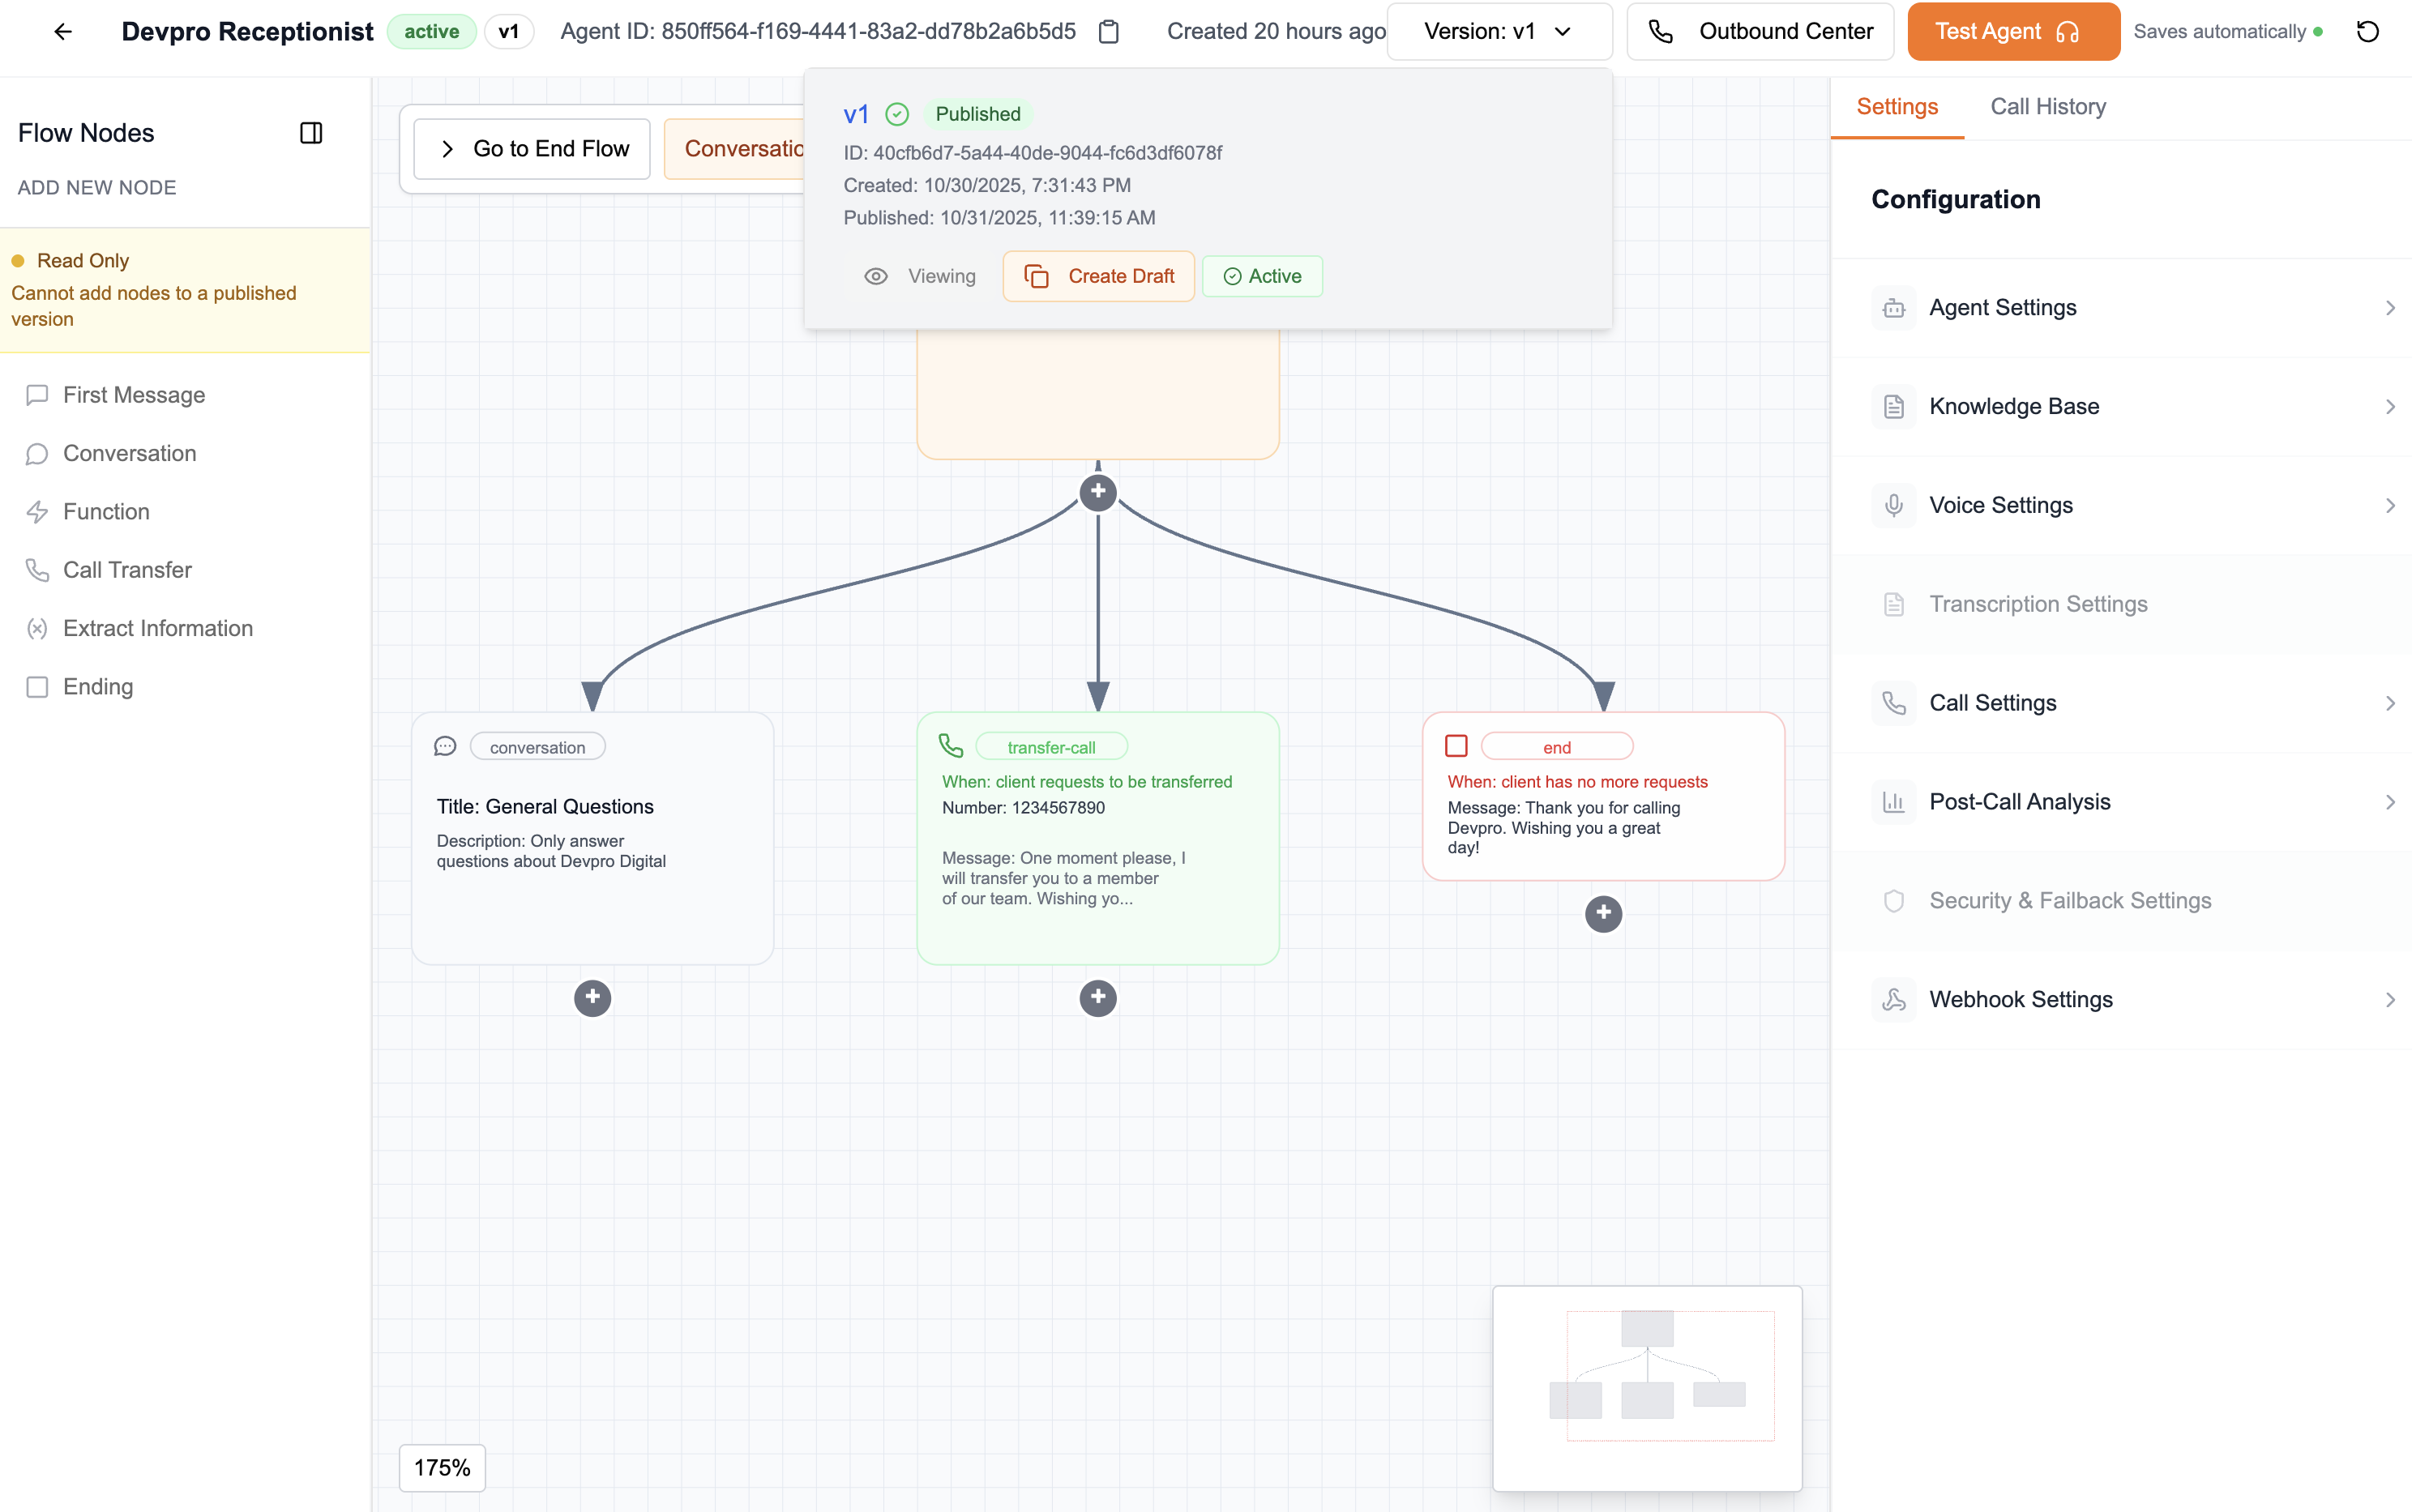
- Create an agent version
- Above the agent editor, click Version: Draft then Create New Version.
- Launch a test
- Above the agent editor, click Test Agent then Start Conversation.
- The test interface allows you to speak directly with the agent and simulate a call.
- Analyze the completed call
- After the test, you can click Call History to view the call history and choose the most recent call to analyze the conversation.
For more details on call analysis, consult the Call Analysis page.
5. Deploy the agent
Once your agent is configured and tested, it's time to deploy it to production so it can be called in real time via a Twilio phone number.
- Publish the agent version
- Above the agent editor, click Version: X for your agent.
- Select the desired version (e.g., v1).
- Click Publish then Set Active to activate this version in production.
For more details on agent version control, consult the Version Control page.
-
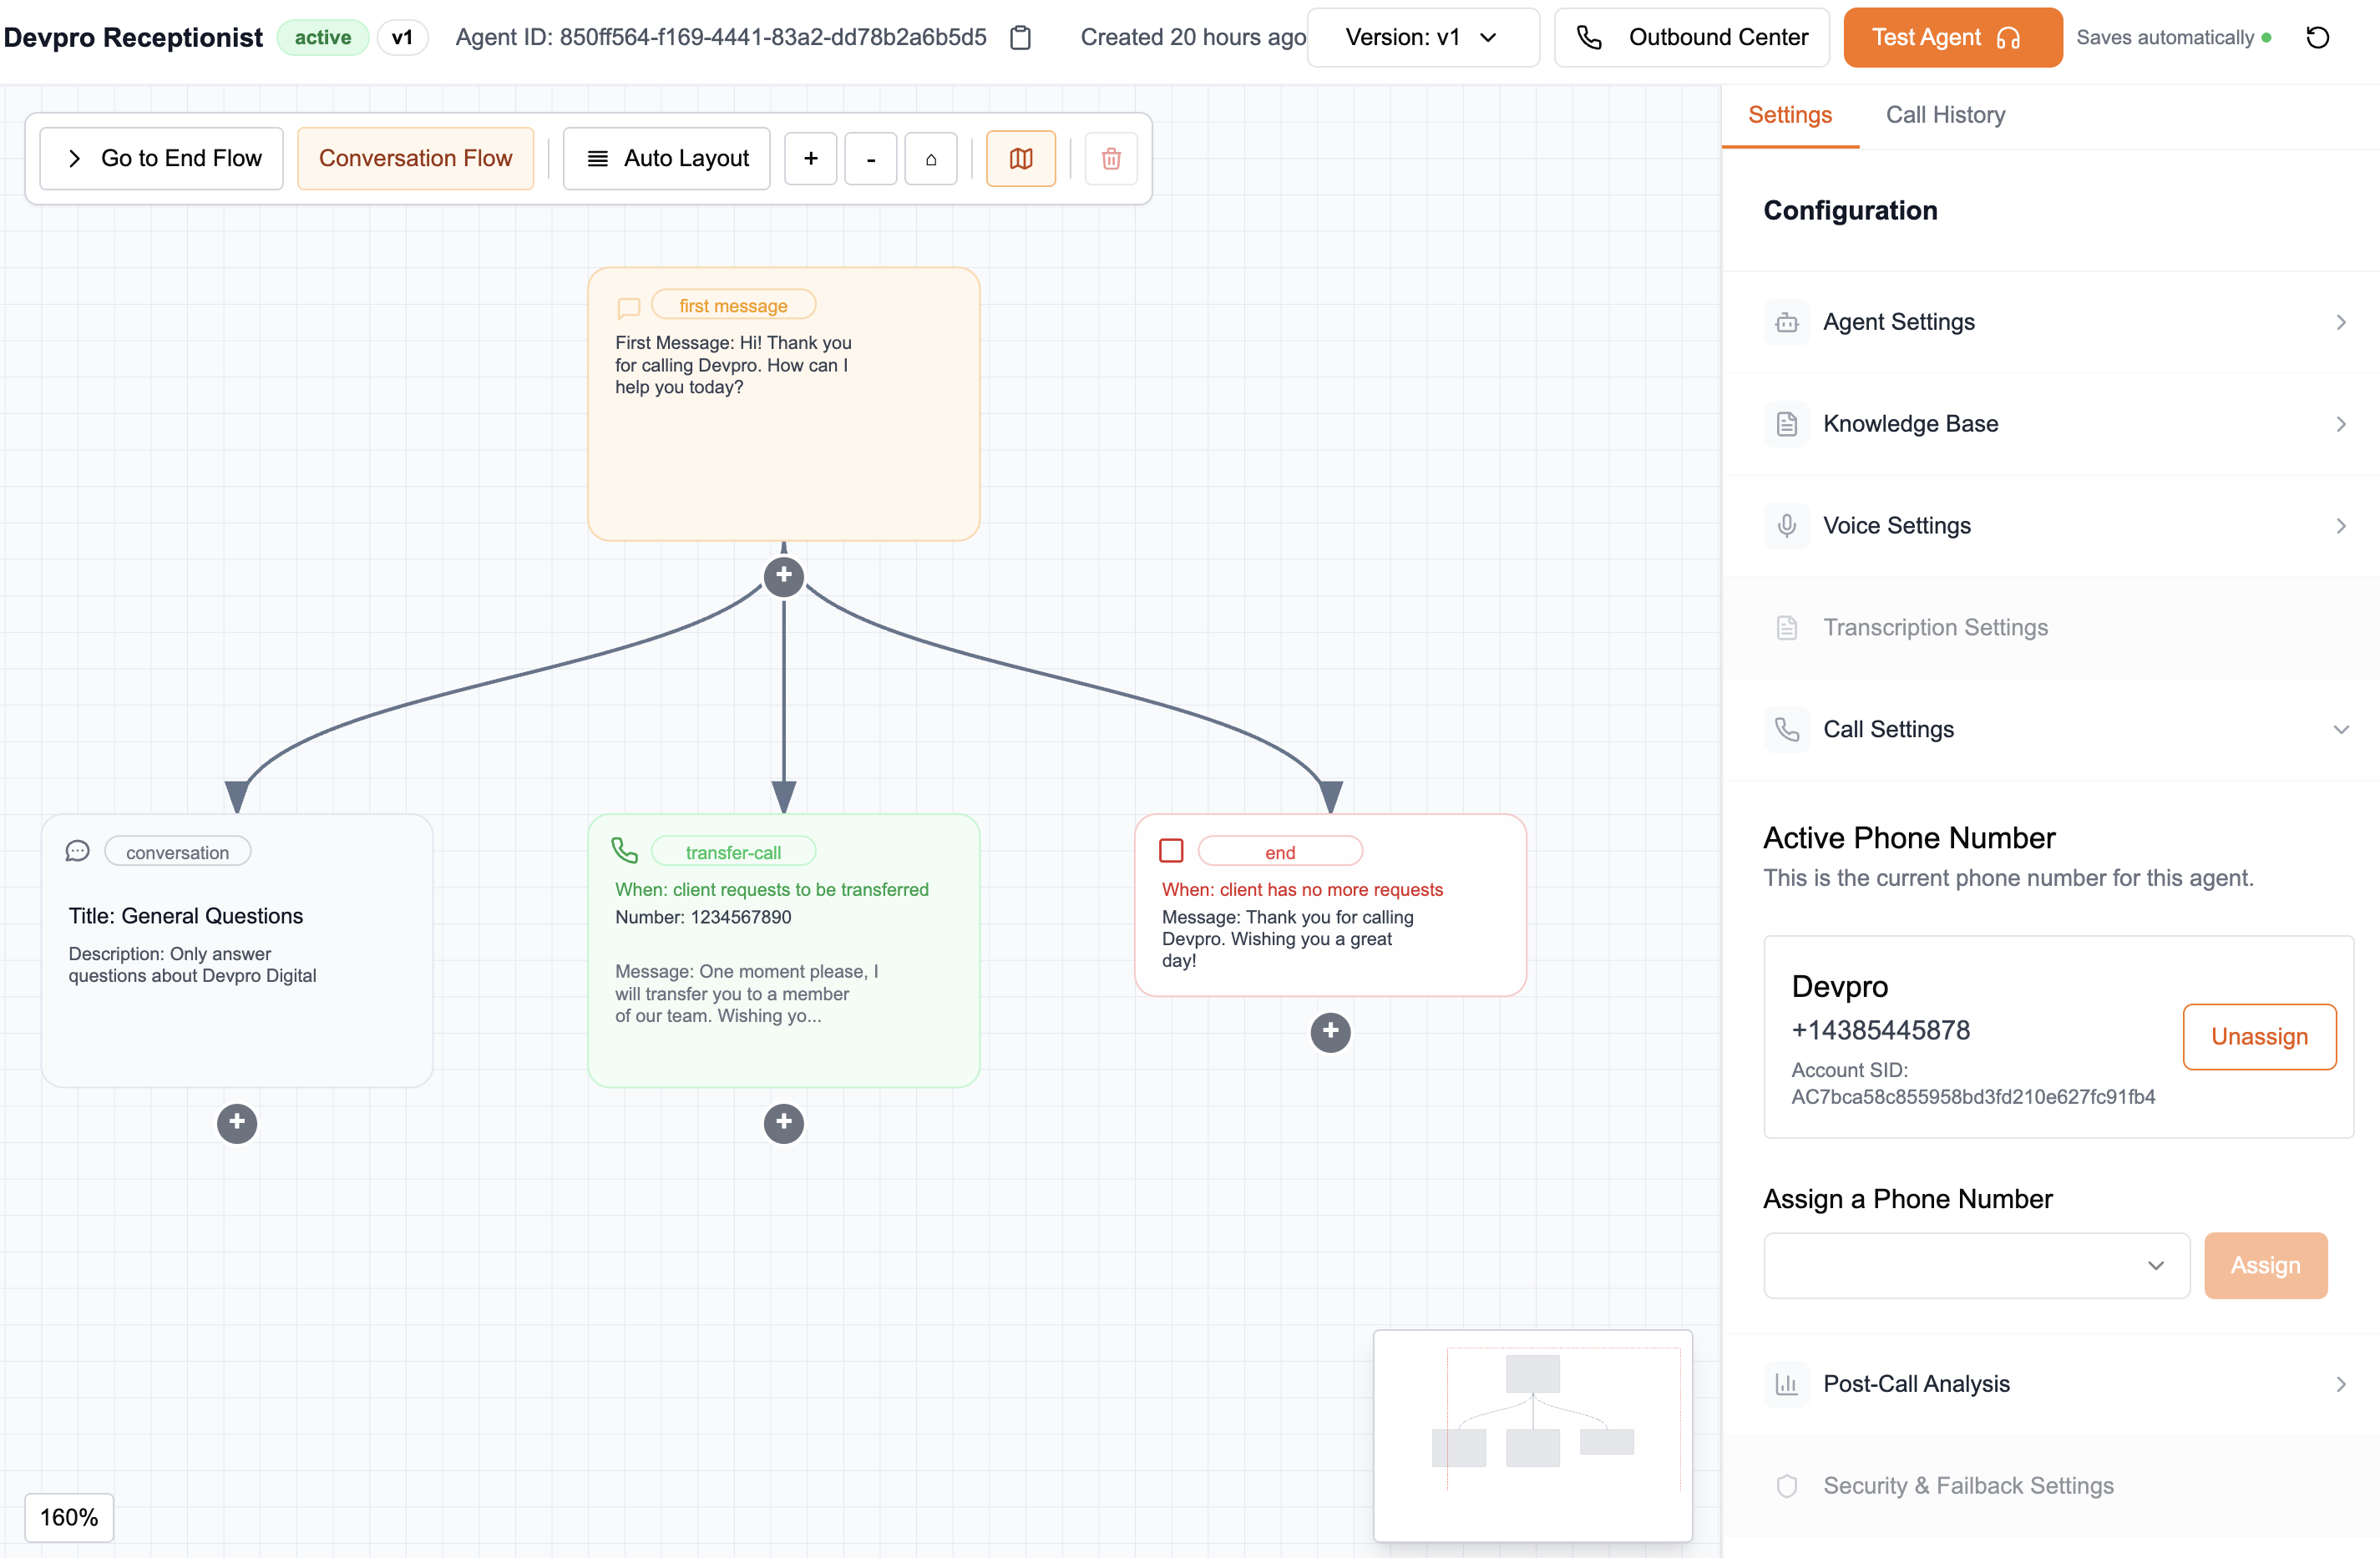
Associate a phone number
PrerequisitesTo associate a number, you must have a valid Twilio number. If you don't have one yet, consult the Twilio Integration page.
- In Settings → Call Settings, select a phone number that you have already imported.
- Click Assign to associate it with your agent.
At this step, your agent becomes reachable by phone.
-
Test the production call
- Make a real call to the assigned number to ensure everything works as expected.
- The agent must answer in real time.
- You can interact with it as during internal tests.
- Verify that the voice, delays, and responses are consistent.
- Make a real call to the assigned number to ensure everything works as expected.
Your agent is now IN PRODUCTION!
It is ready to receive real calls, you can dial the assigned number and experience it like a real customer.
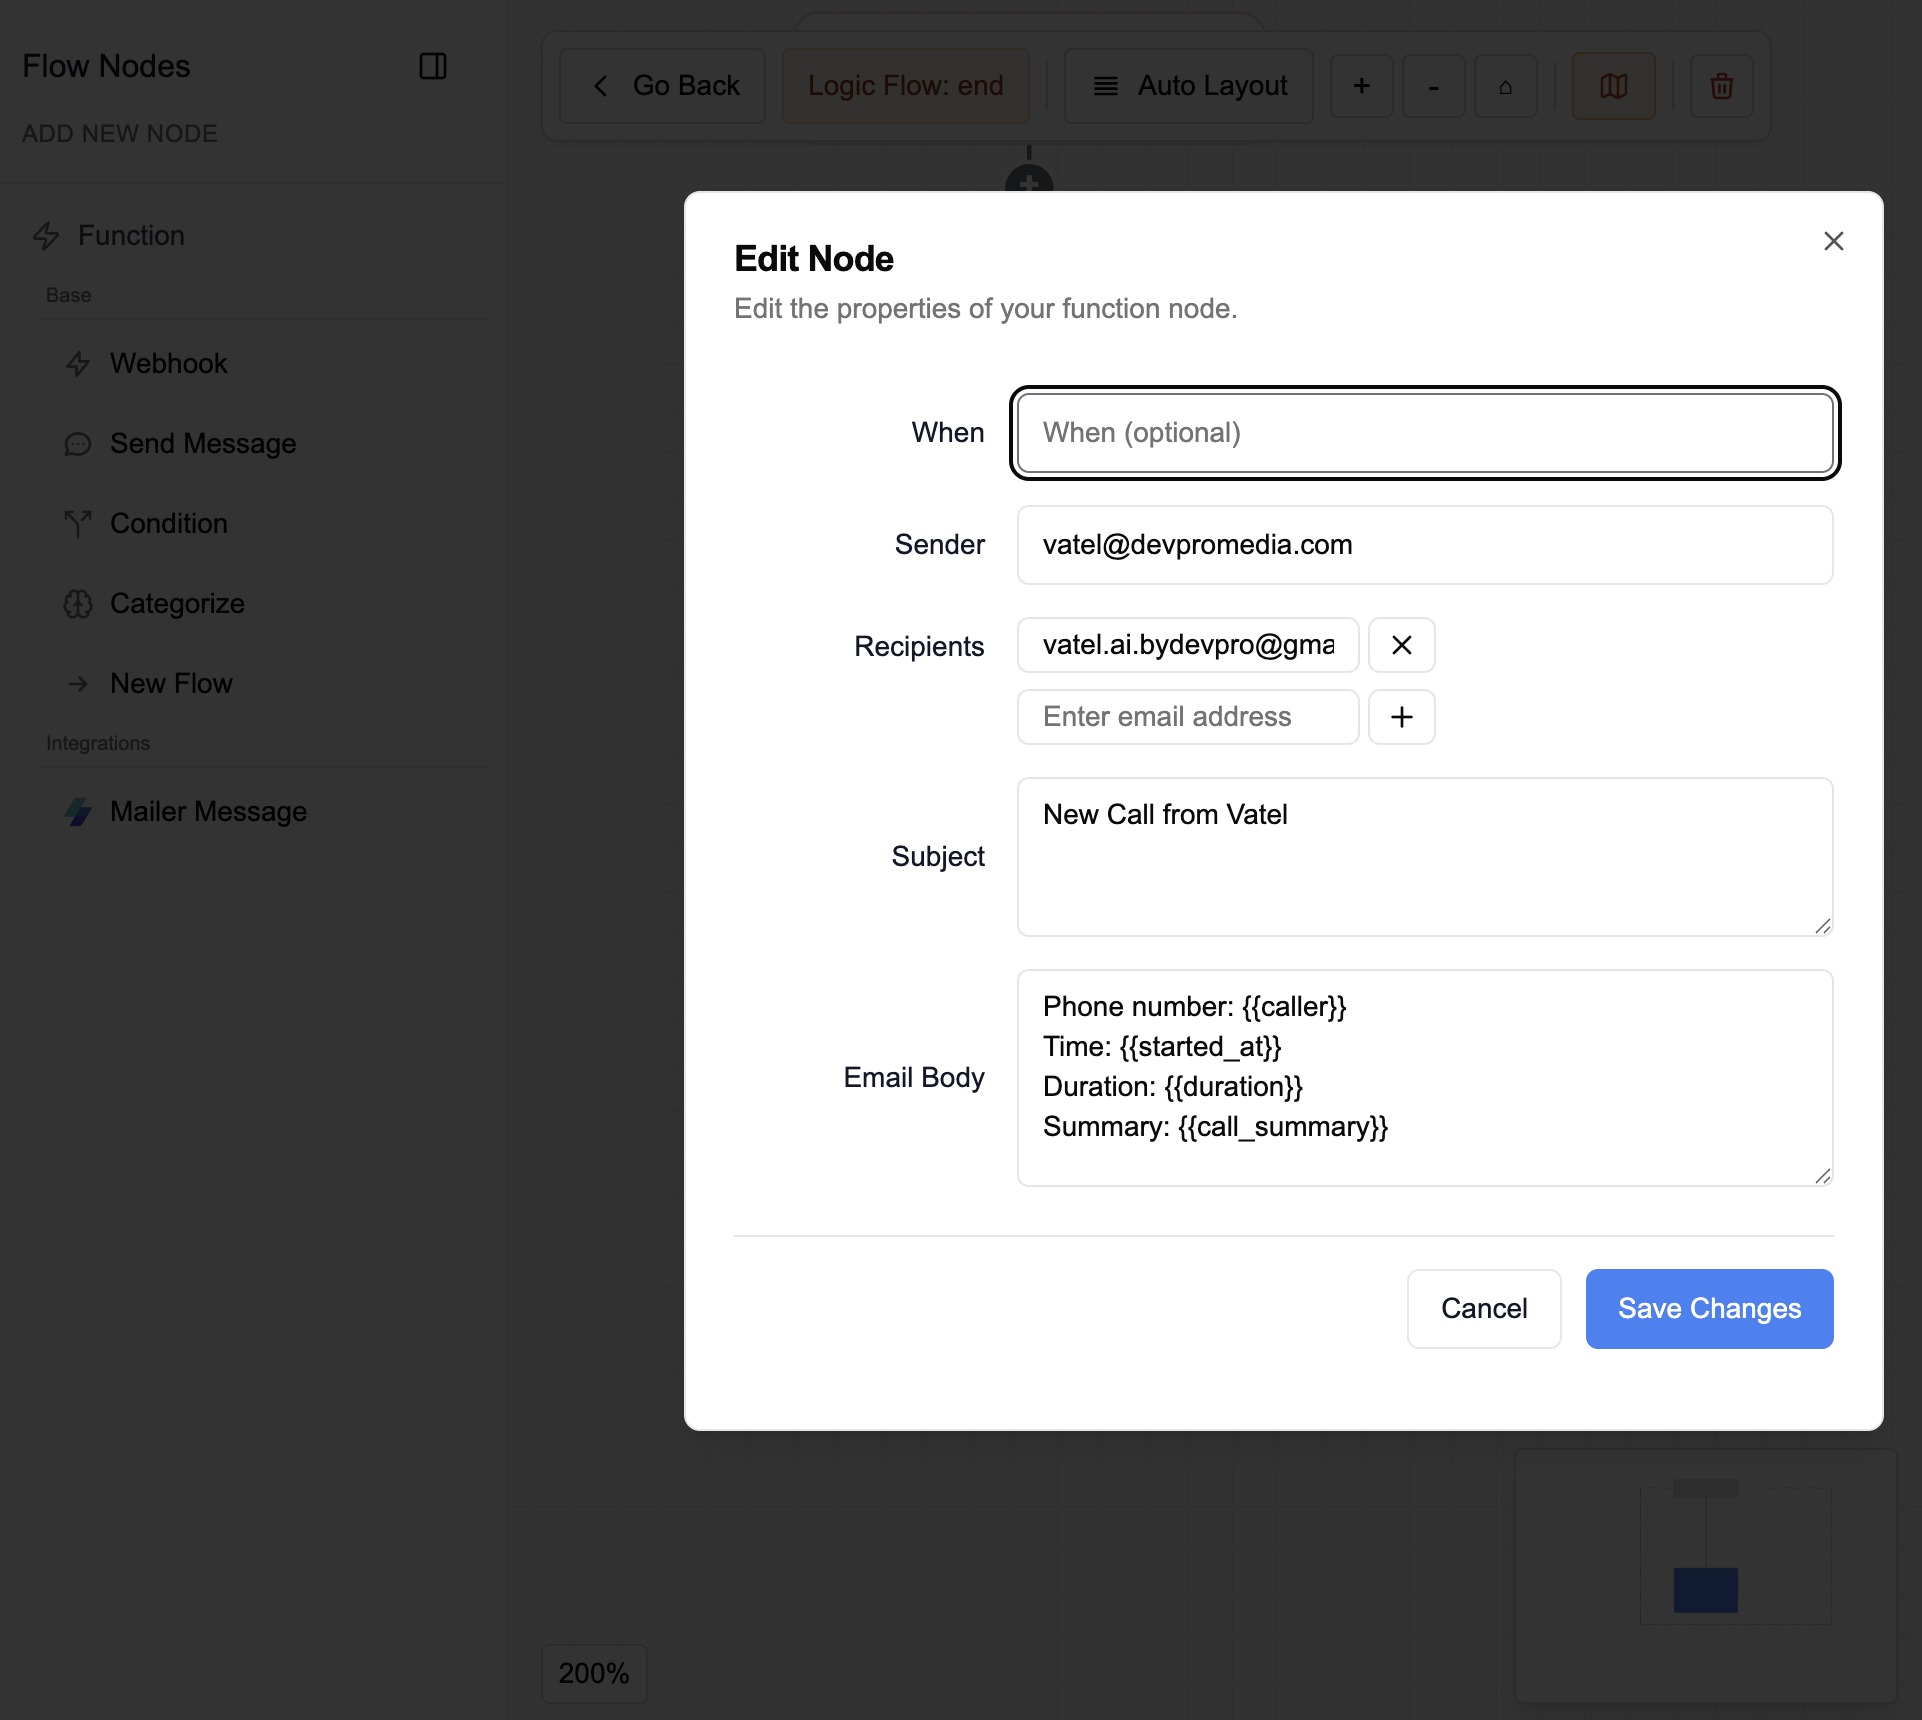
6. Add email sending (Optional)
Add an automatic email sending node to send a summary after each call.
You must have activated the MailerSend integration. If not, consult the MailerSend Integration page.
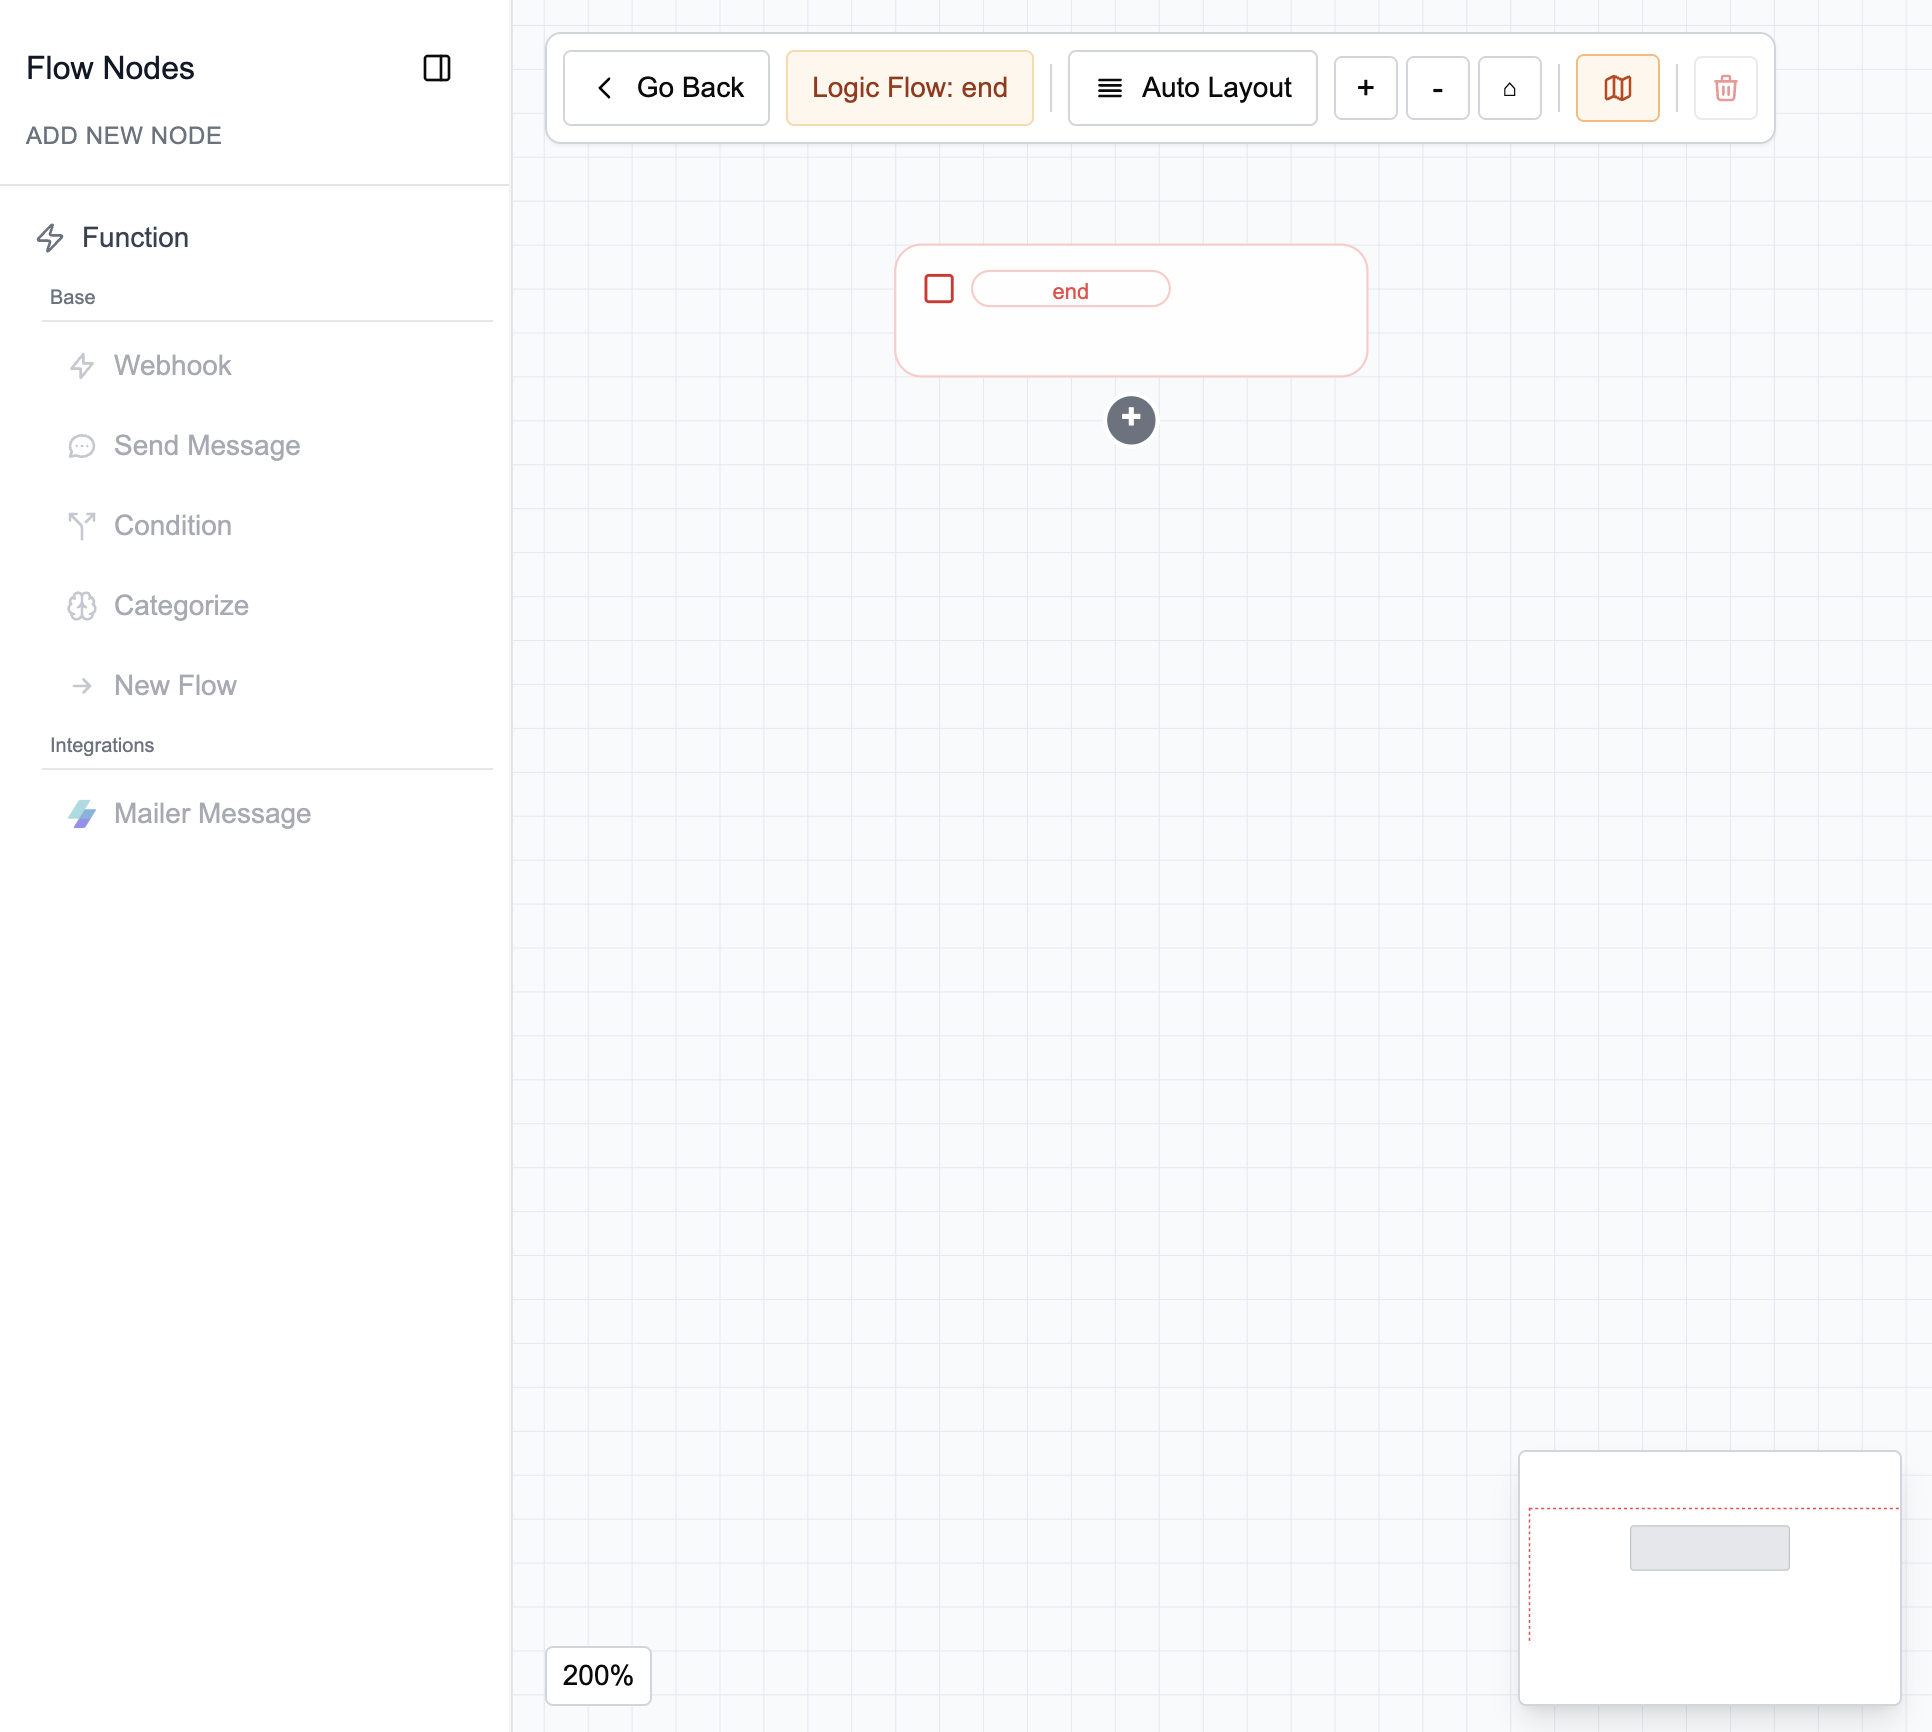
- Open the end-of-call logic editor
- In your agent, navigate to Go to End Flow in the graph editor.
-
Add a MailerSend node
-
In the node, specify the following fields:
-
Sender: sender email address associated with the MailerSend account (e.g.,
no-reply@yourcompany.com) -
Recipients: recipient address(es) (customer, team, etc.)
💡 Click the + sign to the right of the field to add one or more recipient addresses.
-
Subject: message subject (e.g.,
Summary of your call) -
Body: email content
 Phone number: {{caller}}
 Time: {{started_at}}
 Duration: {{duration}}
Summary: {{call_summary}}tipDon't forget to activate the call summary in your agent's Settings → Post-Call Analysis settings.
For more information on variables, consult the System Variables page.
-
-
Save the changes
-
After each call, an automatic email containing the summary will be sent to the recipient(s) defined in the MailerSend node.